For the last five years, we’ve been slowly turning our suburban backyard into a miniature farm on a journey towards a more self sufficient life. here’s a quick photo tour to show you exactly what can be done in suburbia if you’re striving for a sustainable lifestyle.

Seasonal vegetables
Growing fruit and veg.

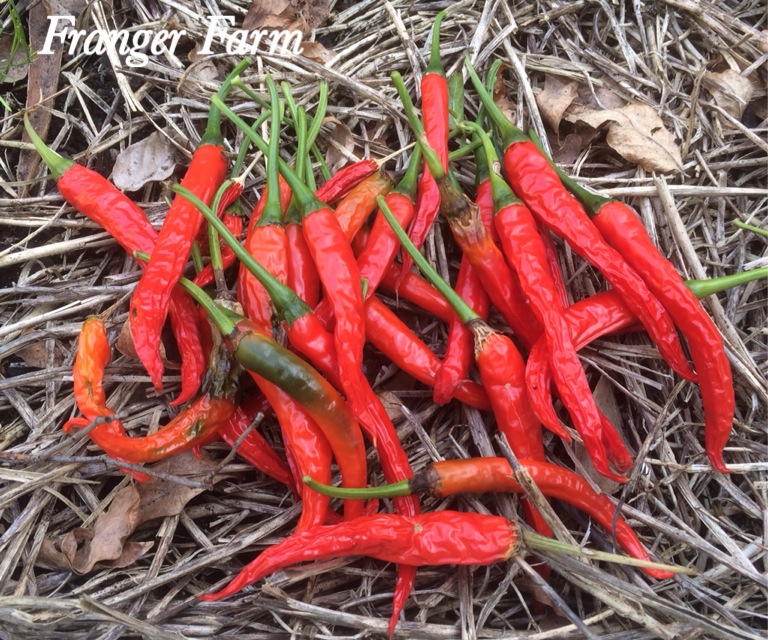
Spring harvest
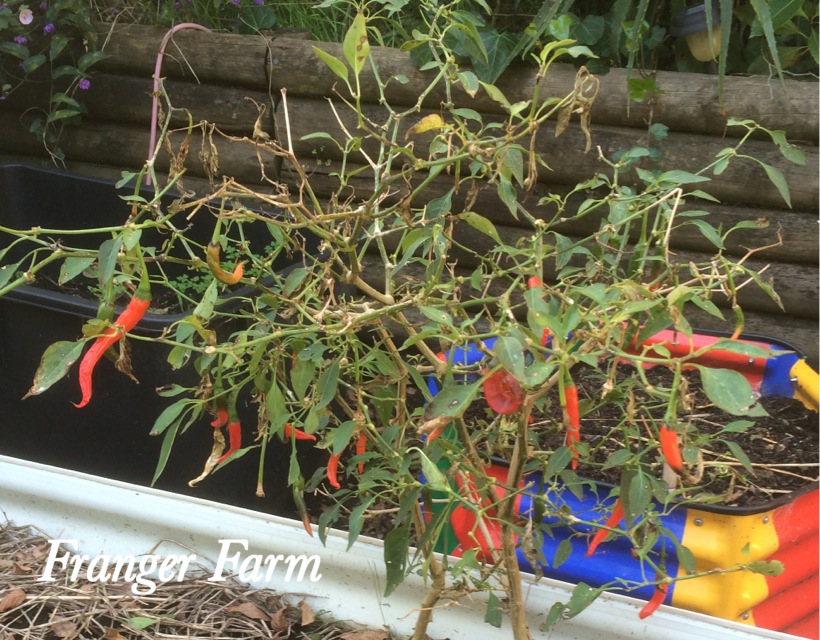
We grow most of the vegetables we eat and quite a bit of fruit, especially in the summer months. We have numerous veggie beds around the backyard, one is completely given over to the production of potatoes, the others rotate with seasonal veg.
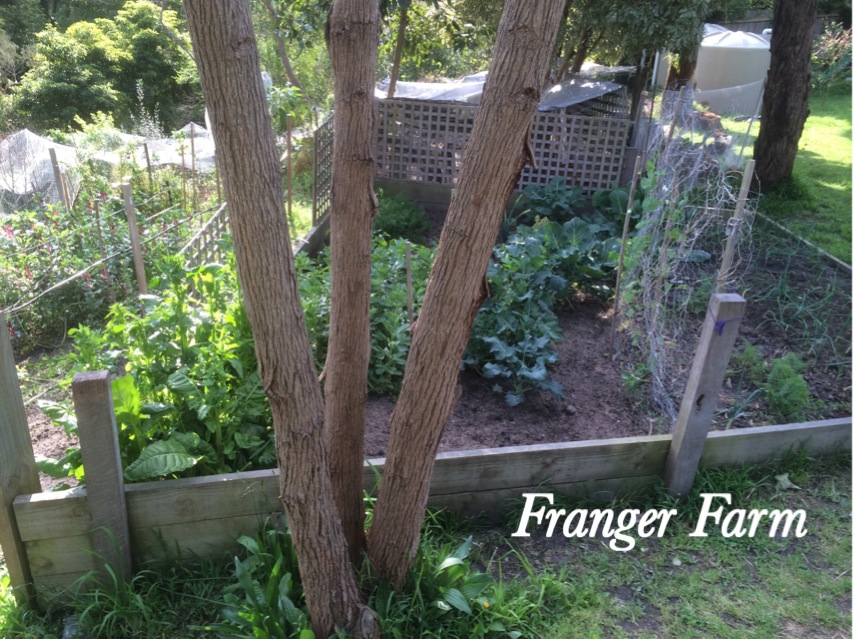
One of the large backyard veggie beds.
Some of the first fruit trees we planted are now giving us nice crops of fruit, we’ve added more trees most years, some of these have yet to start bearing fruit, trees are a long term project.
We grow some soft fruits, we have a thriving strawberry patch, which we have finally found a way of keeping the weeds and the birds out, we also grow blueberries and raspberries.

Blueberries.

The strawberry patch.
We plant some purchased seedlings, but most of the veg we grow is started from seed in our greenhouse.

The greenhouse.
Keeping chickens.

Franger Farm chooks.
The chickens are essential to our backyard farming project. As well as giving us a supply of fresh eggs, they eat our kitchen scraps, weeds and give us chook manure which we use to fertilize our veggie beds and fruit trees. The straw bedding from the chicken coops also goes back on the garden bed as mulch. our chooks produce enough eggs for us to sell extras to our friends, which covers the cost of their feed.

Reggie the rooster.
we have a rooster ‘Reggie’, so our eggs are fertile, and we’ve begun raising our own chicks. We also have a broody hen sitting on some eggs at the moment, we’re keeping our fingers crossed that she manages to hatch something soon.

Our latest batch of ‘chooklets’
Rabbits.
Although our rabbits ‘Mushroom and Garlic’ are pets, they work hard for us. They are devourers of vegetable scraps and producers of much poo, which can be added to our growing beds without needing to be composted or aged in any way.
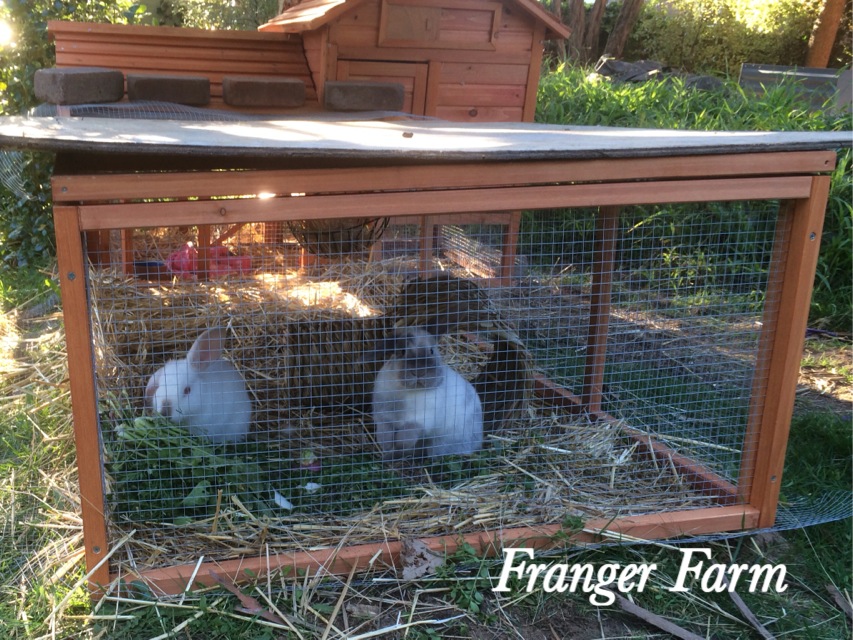
Mushroom and Garlic.
Worms.
We have two worm farms that we use to process our kitchen scraps. In return, they give us worm castings and worm wee, both of which can be used as fertilizer on our vegetables.
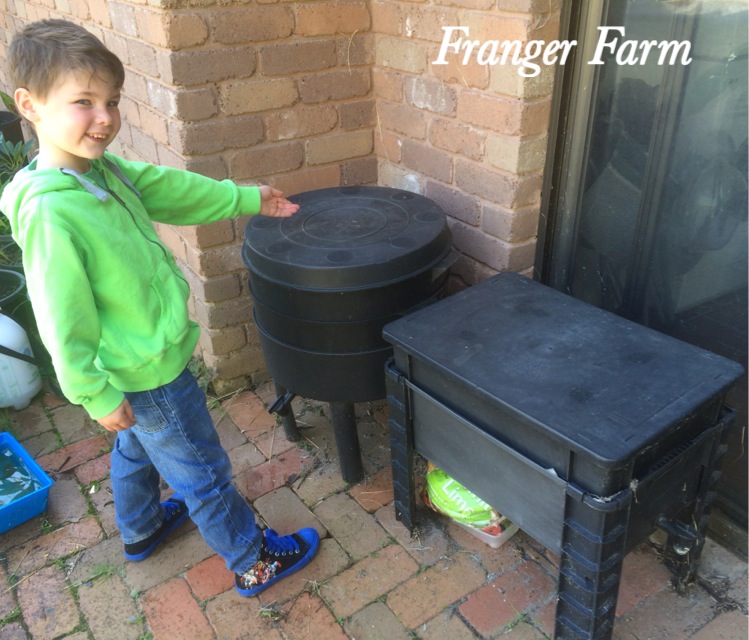
Our worm farms
Pest control.
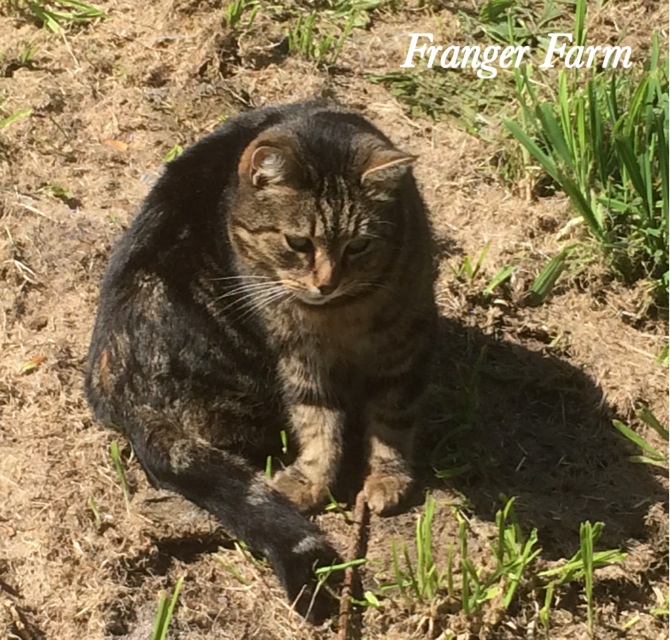
Snickers, farm cat.
Let’s not forget another hardworking member of our team ‘Snickers’ the cat. He found a home with us after the family that owned him felt unable to cope with his hunting habit. Let’s just say that he a perfect fit for us and will kill any pesky critter that has the nerve to venture near our veg or our chook runs!
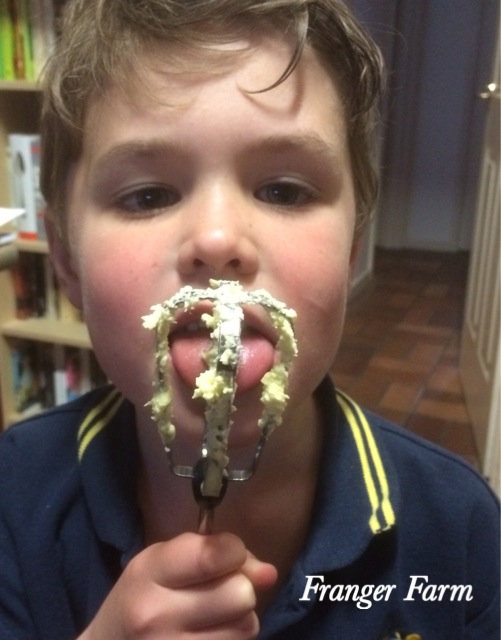
The Micro Farmer.
The Micro Farmer gets involved in all the chores on Franger Farm, from collecting eggs and feeding chickens, looking after the chicks and rabbits to planting in the greenhouse and weeding the veggie beds. He loves to be outside, which is were he spends most of his time when he’s not at school.
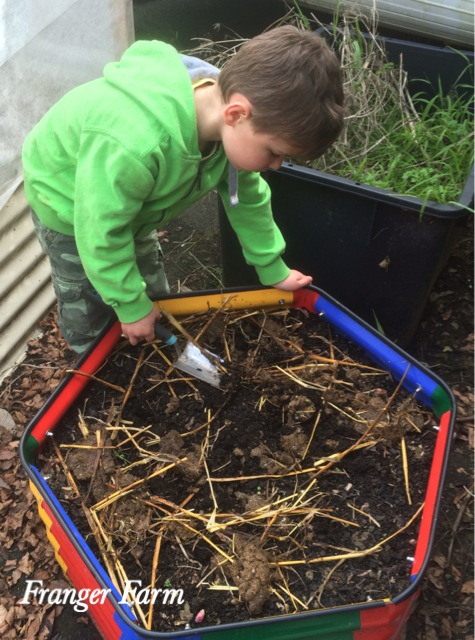
The micro farmer, hard at work.
Anyone can have a micro farm in their backyard, it’s just a matter of scaling it to fit. You can make use of the paved areas around your house by adding raised beds. Try hanging baskets filled with lettuce or tomatoes under the eaves, grow a passion fruit or grape vine on the pergola. The possibilities are endless, your imagination is the only limit!

Herb beds at the back of the house.