I’m asked regularly “What are you planting now?” or “What should I plant at this time of year?” So, I’ve decided that a monthly planting guide is the way to go. Obviously, climates vary across the globe during each month of the year, but I will try to cater for most of you whether you’re in the southern Hemisphere like us, or still snow covered in the Northern Hemisphere, let’s hope you start to thaw out soon!
We’ll divide the guide first by Hemisphere (northern or southern) and then by climate (cold, temperate and sub-tropical – tropical). In this way, most planting zones should be covered.
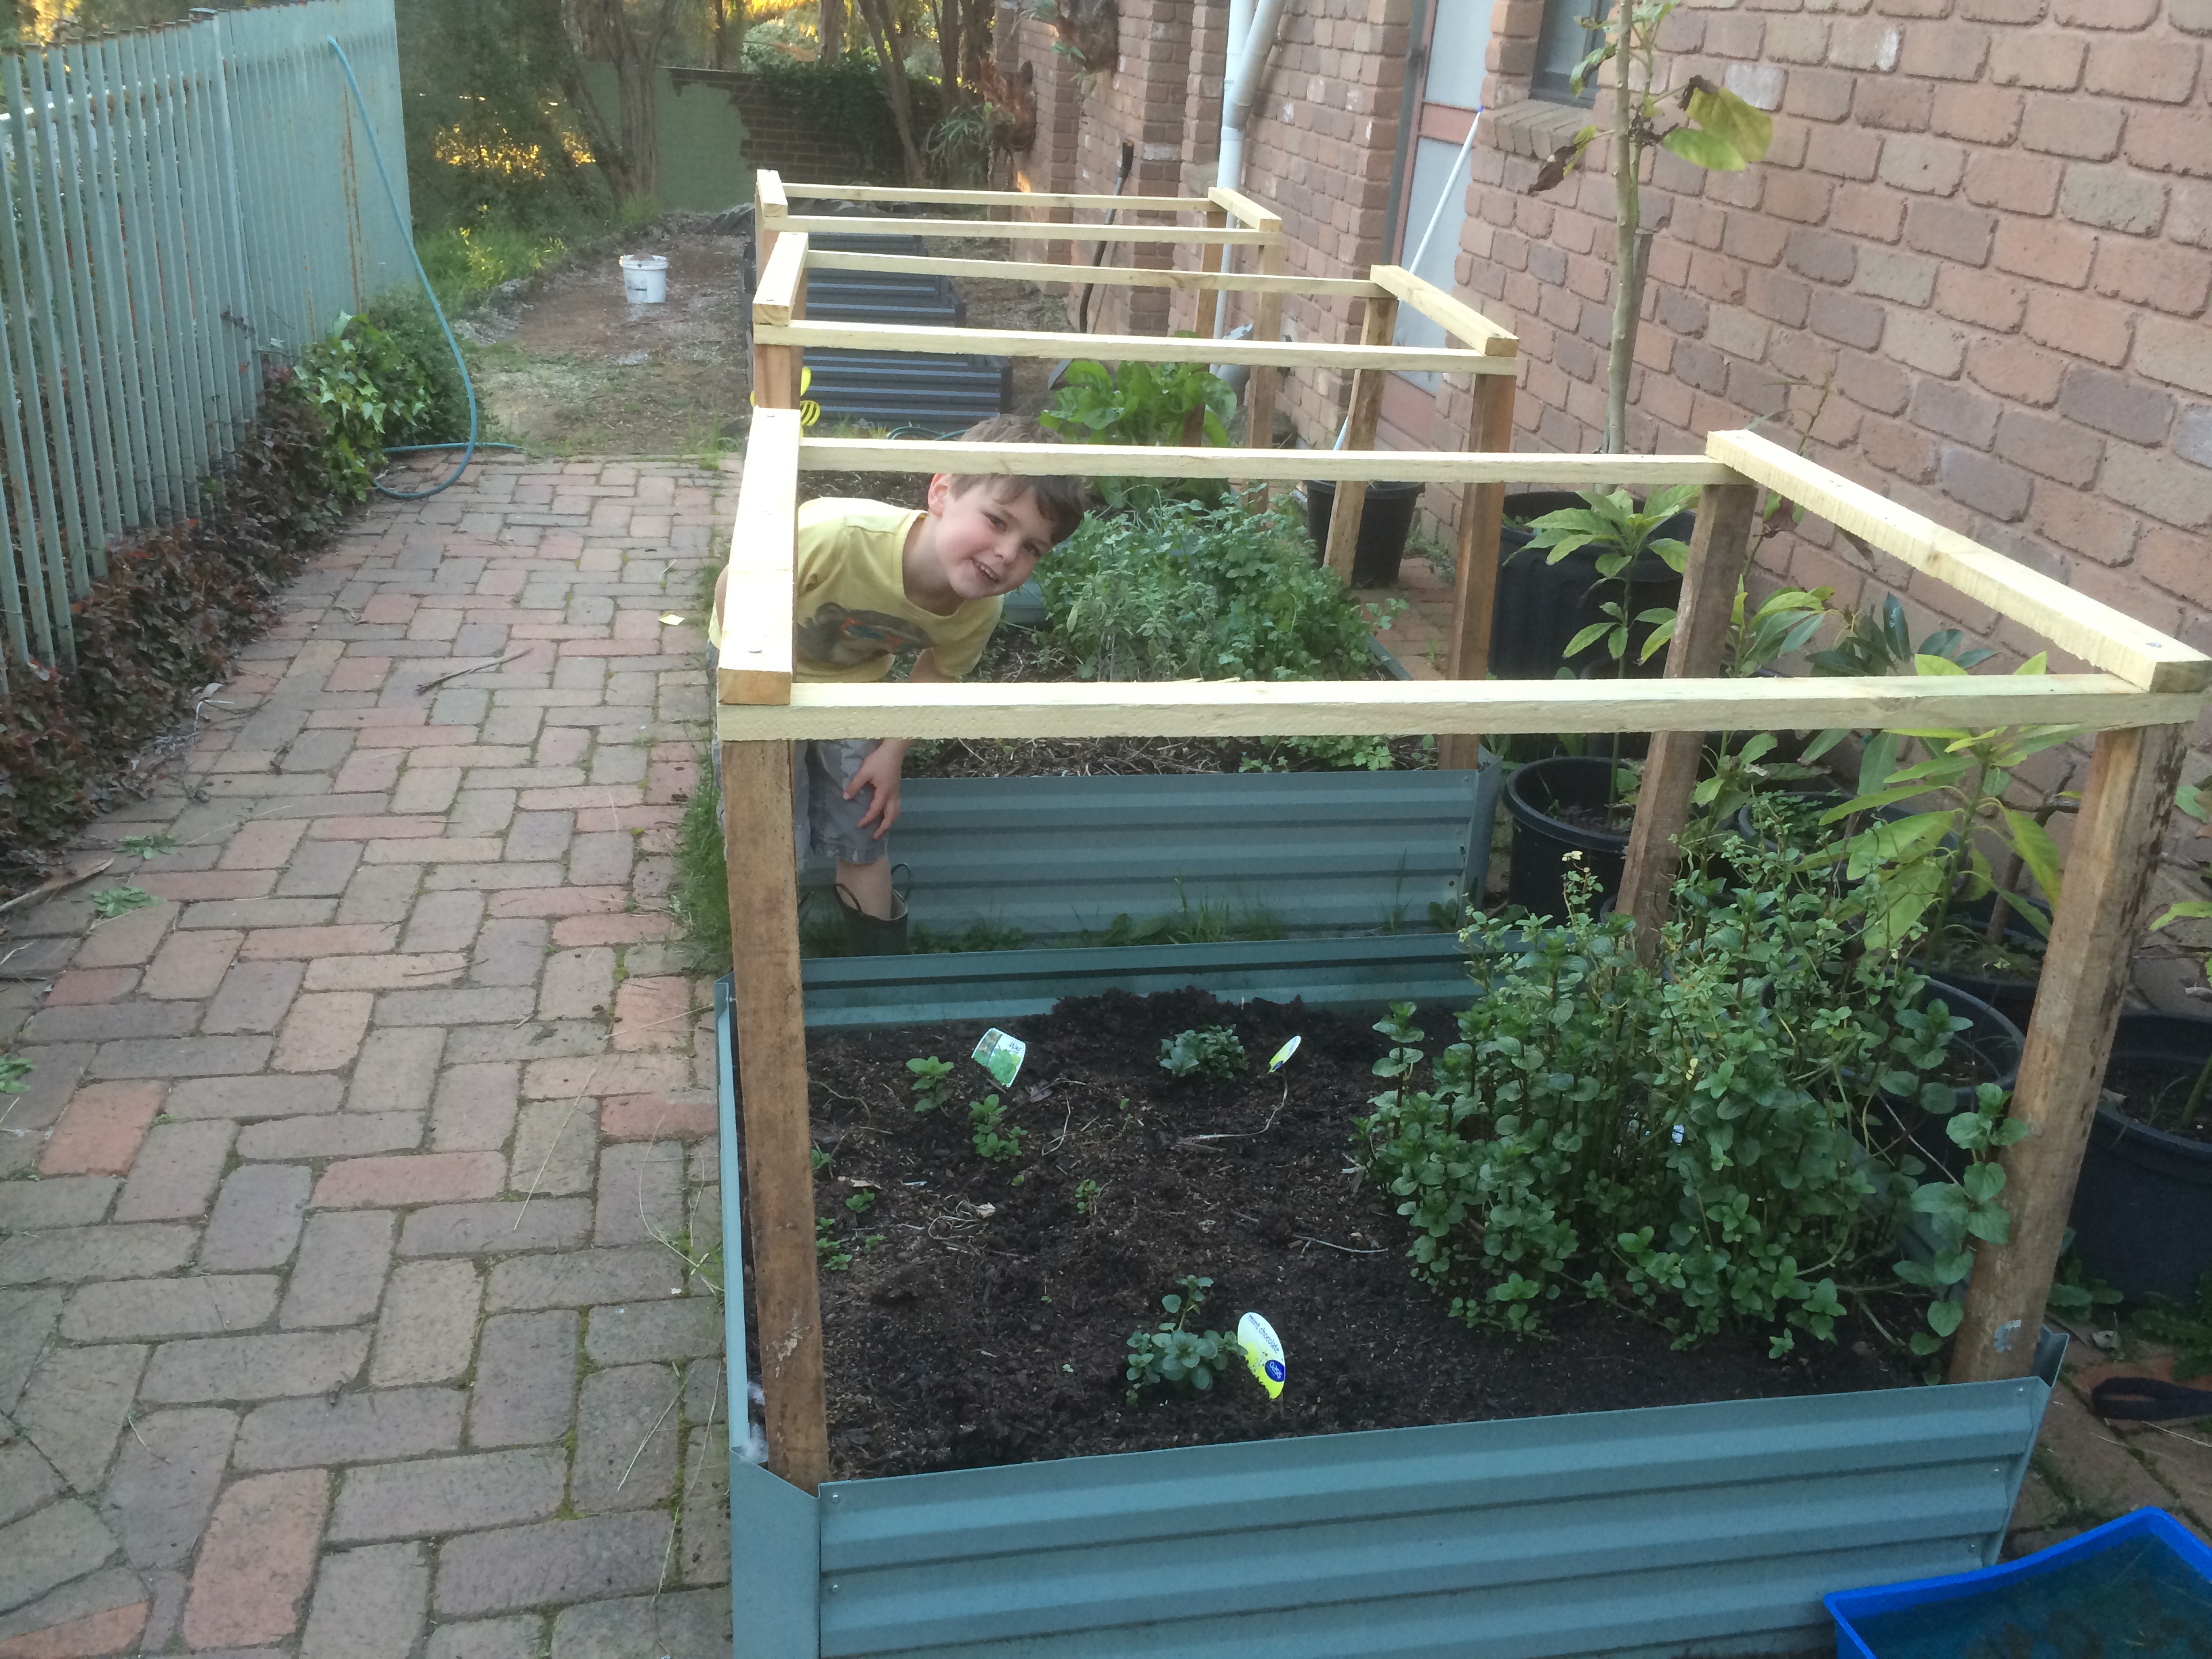
Southern Hemisphere : March
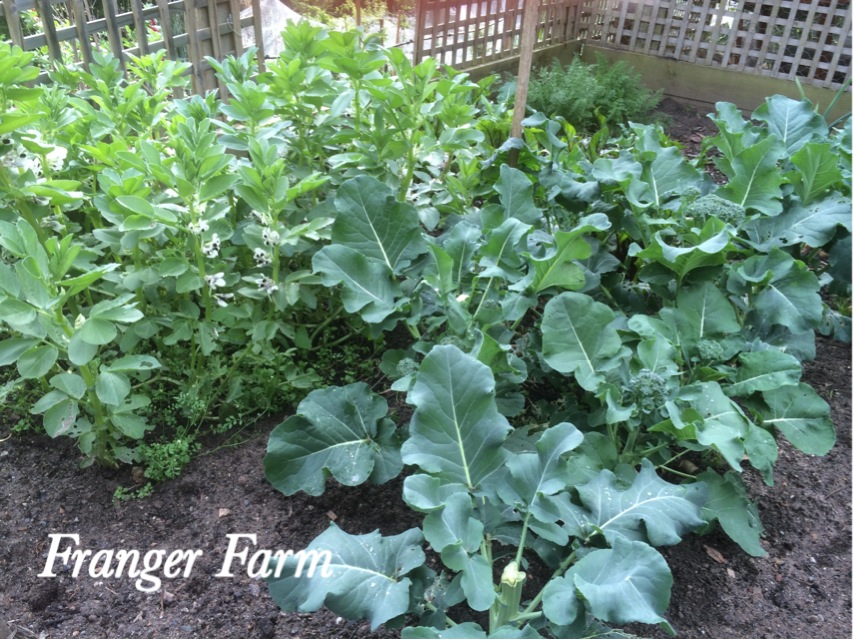
Broad beans and broccoli.
Those in cold climate regions of the southern hemisphere can start to think about brassicas. March is the time to plant broccoli, cabbage, cauliflower, Brussels sprouts, Asian greens, broad beans, carrots, spinach, kale, leek, lettuce, silverbeet, spring onion, radish, swede and turnip.
In southern hemisphere temperate areas, you can plant all of the above with the exception of spinach (still too warm) and the addition of beetroot, onions, parsnips and peas.
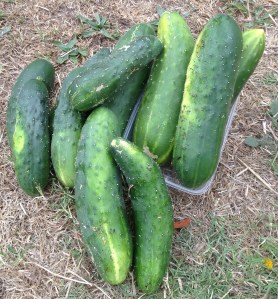
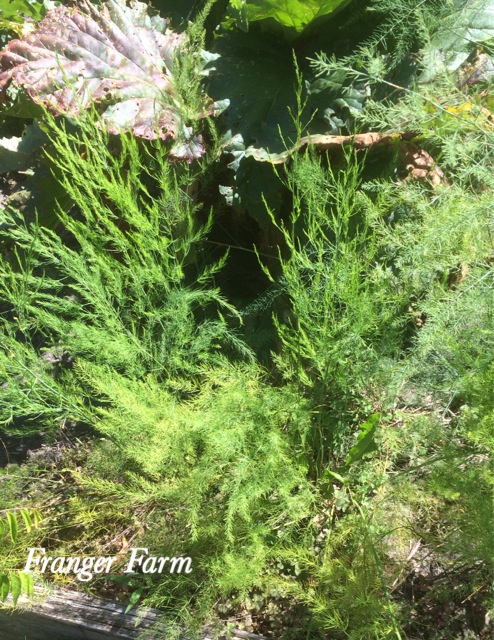
- cucumber can be sown in sub tropical/tropical climates in March.

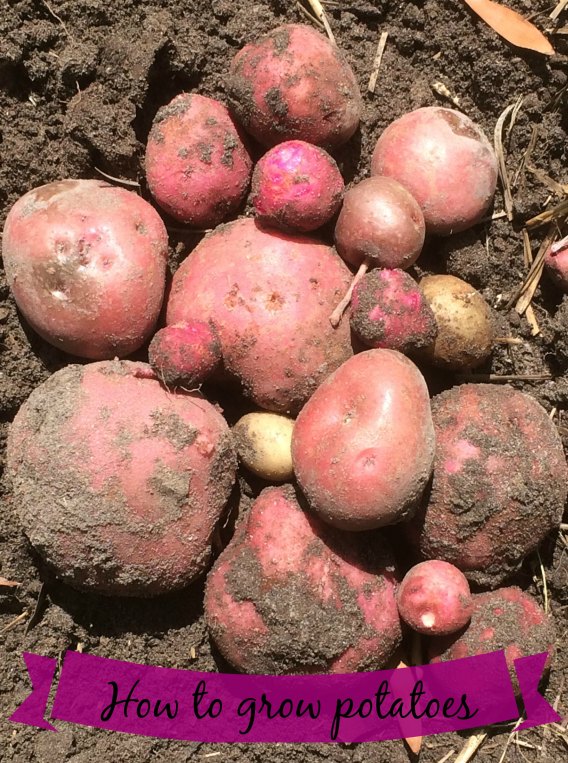
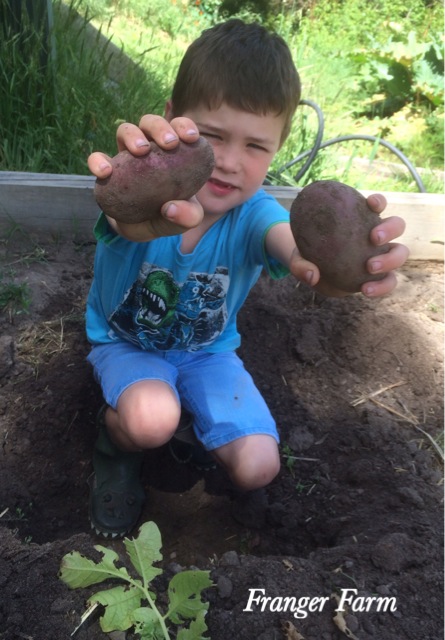
Those in the sub tropics and tropics can begin sowing beans, Broccoli, cabbage, chilli and capsicum, carrots, cauliflower, cucumber, eggplant, Kale, leek and lettuce, potatoes and sweet potatoes, silverbeet, spring onions, sweetcorn, yam and tomatoes.
Northern Hemisphere : March.

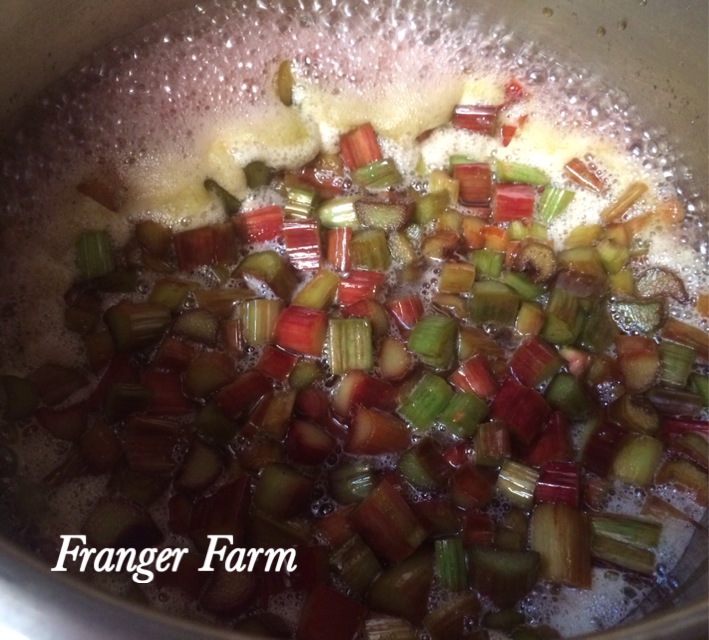
Rhubarb can be planted in a cold climate in March.
Northern Hemisphere cold climate folk can begin to dream of summer this month. In March you can plant Beetroot, cabbage, carrots, Asian greens, Lettuce, peas, potatoes, radish, silverbeet, squash, swede, turnip, tomatoes and rhubarb.
Those in a temperate climate can plant all of the above with the addition of Beans (dwarf and climbing), capsicum, cucumber, leek, spring onions, pumpkin, sweetcorn, sweet potato and tomatoes.

Sweetcorn can be planted in the sub tropics/tropics.
The lucky people in the sub tropics to tropics can really get planting in March, here’s what needs to go in. Beans (dwarf and climbing), beetroot, broccoli, cabbage, Asian greens, cucumber, carrots, capsicum, lettuce, eggplant, melon, spring onions, potatoes, squash and pumpkin, radish, sweetcorn, sweet potato and tomatoes.
It’s very difficult to cover every climactic region worldwide for a specific month, but hopefully, this guide will at least point you in the right direction and get you organising your plantings for the month ahead.
Happy gardening!