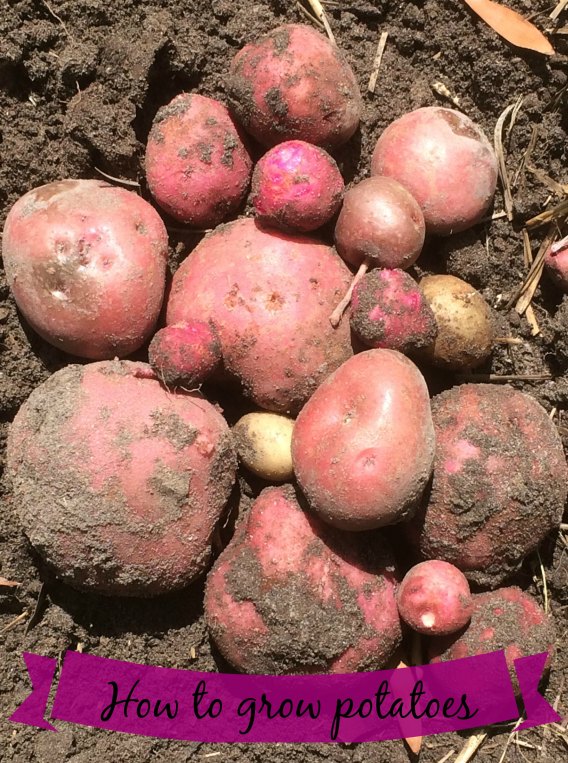
Potatoes would have to be the absolutely best vegetable there is, I’m going to stick my neck out and say that there is virtually no one who doesn’t like to eat potatoes in one form or another, yet, I know quite a few people that grow their own veg but have never grown potatoes. I don’t know why this is, maybe they’re not sure how, or they think that they don’t have the space? Well, I’m here to tell you that growing potatoes is really easy and there are ways to grow them in small spaces too.

Leave your seed potatoes somewhere bright for a week or so until they ‘chit’.
Potatoes are best grown from certified disease free seed potatoes, but if you have never grown potatoes before, you could use a few shop bought ones that have sprouted in the pantry and plant them in a large container. They can be planted from late winter to early spring. In order to give your potatoes a good start, leave them on a sunny windowsill for a couple of weeks until they start to sprout, this is called ‘chitting’. Not all gardeners chit their potatoes and they will still grow if you plant them without chitting, they’ll just take a little longer.

Dig a trench to plant your potatoes.
Once your potatoes have chitted, you’re ready to plant. If you’re planting in the ground, dig a trench about 10cm (4 ins) deep, a bit of well rotted manure in the bottom will give your potatoes a flying start as they are heavy feeders. Put your potatoes in the trench about 30 cm (12 ins) apart and cover them with a little soil.

You can easily grow potatoes in a large container if you have no space in your garden.
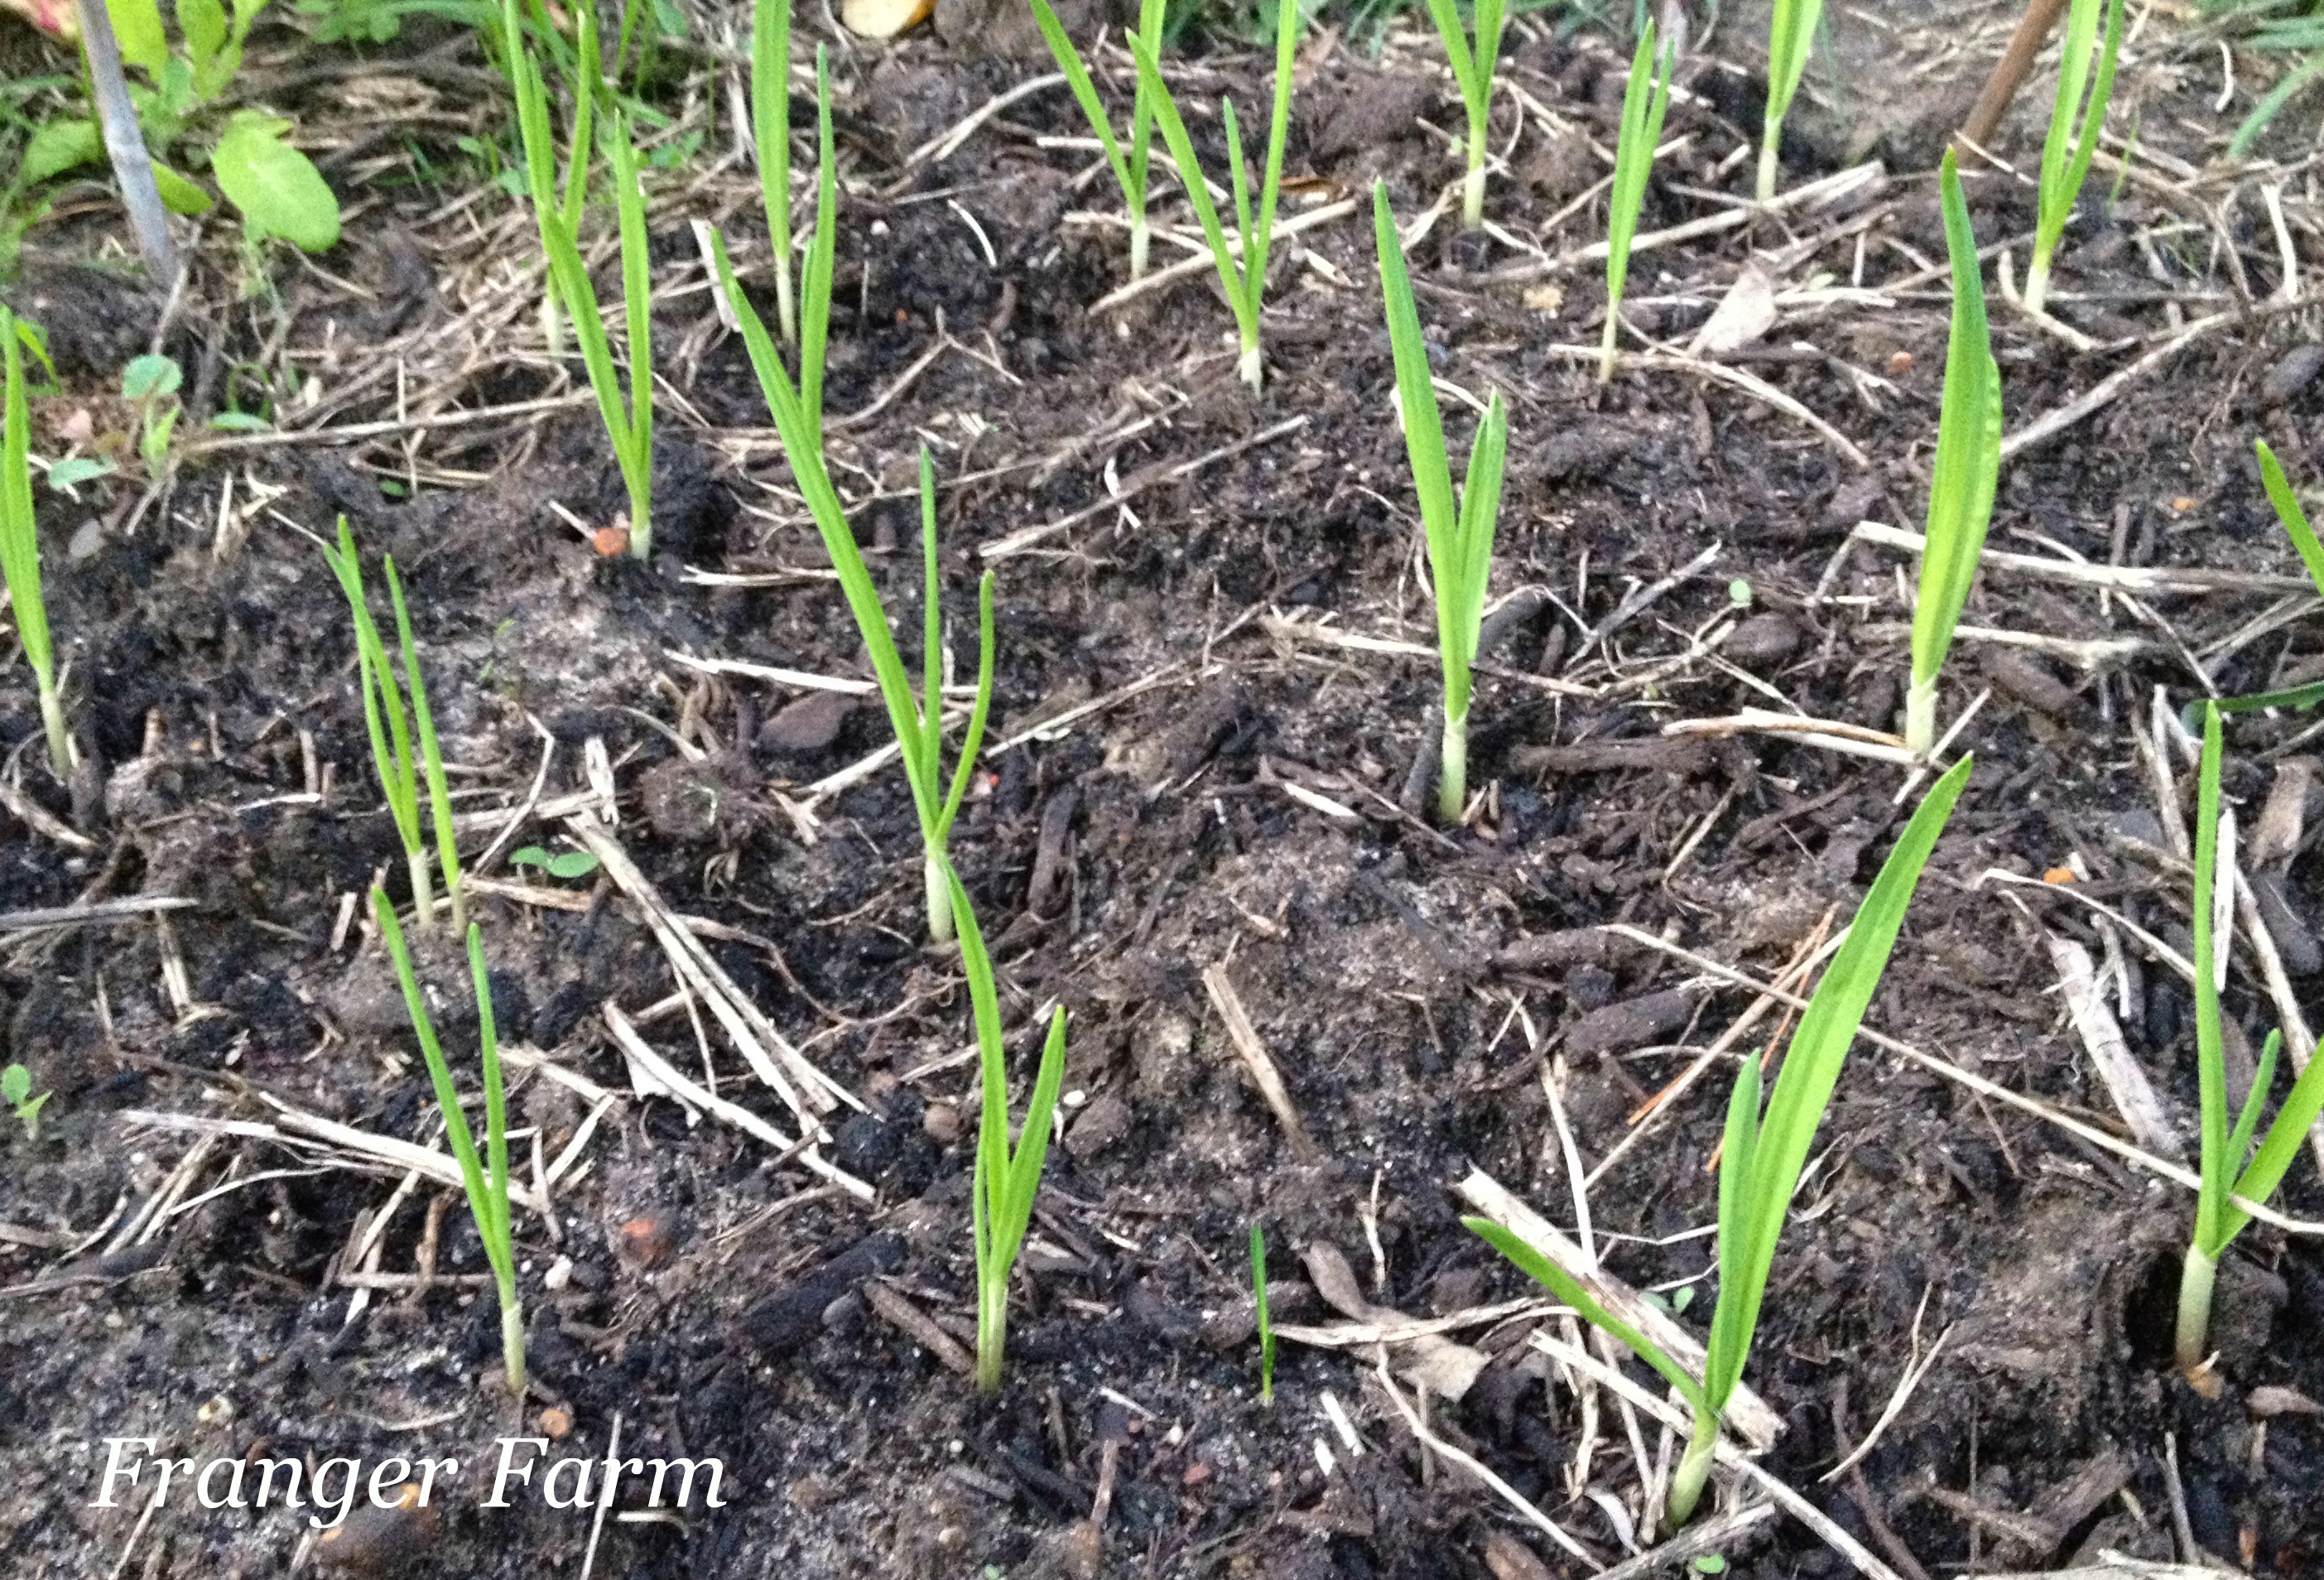
As the potato plants grow, cover all but the tops of the plants with soil, the more you cover the stems of the plant, the more potatoes you will have at harvest time. The same principles apply to potatoes grown in a container, simply plant your potatoes in a small amount of soil in the bottom of the container and then fill the container with more soil as the plants grow.
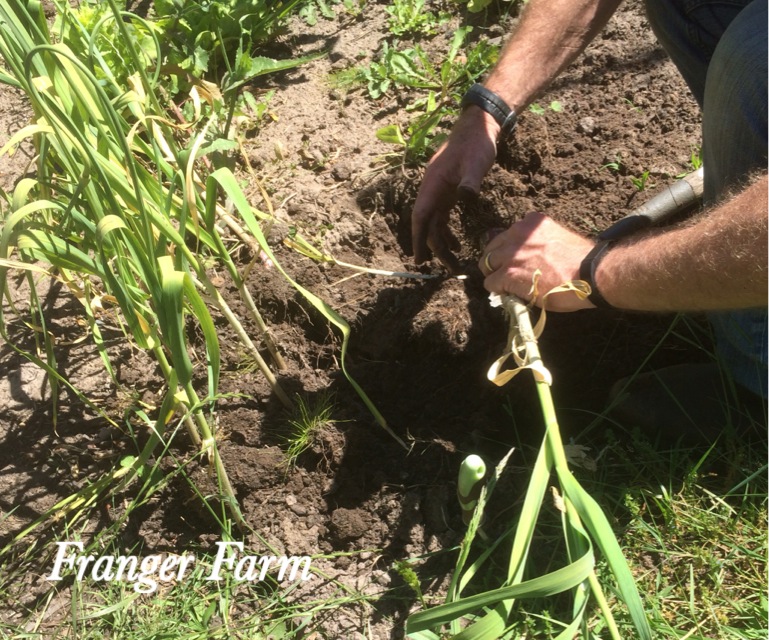
harvest your potatoes once the plants have flowered and begun to die back.
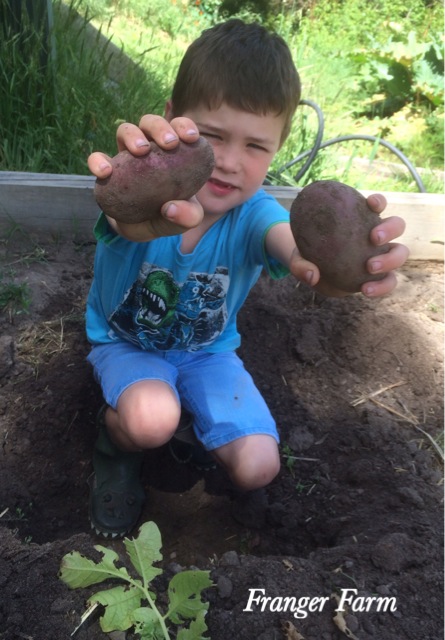
Your potatoes will be ready to harvest once the plants have flowered and begun to die back, dig them up carefully, trying not to stab any (virtually impossible, but try anyway). If you are growing in a container, simply tip it upside down to harvest!
Don’t wash any potatoes that you’re planning to store as they will not store as long once they’re clean, try to store them in a cool dark place and never store the with apples as the ethylene gas that they emit will make your potatoes rot.
So, if you haven’t tried growing potatoes before, why not give them a go? They’re extremely low maintenance, you can grow them in a container if you’re short of space and, in the case of all home grown veg, they taste fantastic!