Here’s our quick, simple and straightforward guide to caring for chicks from just hatched until they’re ready to move outside.
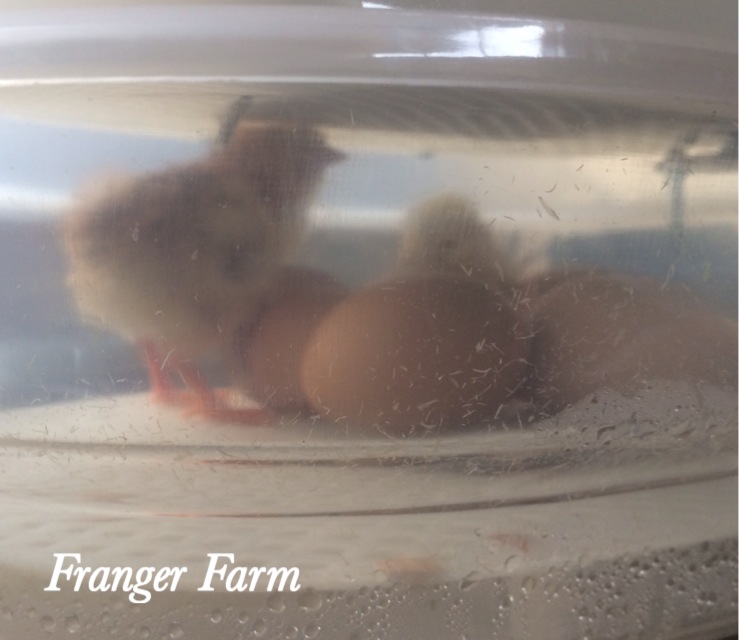
Newly hatched chicks drying out in the incubator
After your chicks have hatched, they need to be left in the incubator until they have dried out and fluffed up, at this point, they can be transferred to the brooder.
There’s no need to buy an expensive brooder, it’s easy to make one yourself. Ours is made from a plastic storage container with a heat lamp suspended above it. You can use any type of container that will hold some sawdust and your chicks safely.
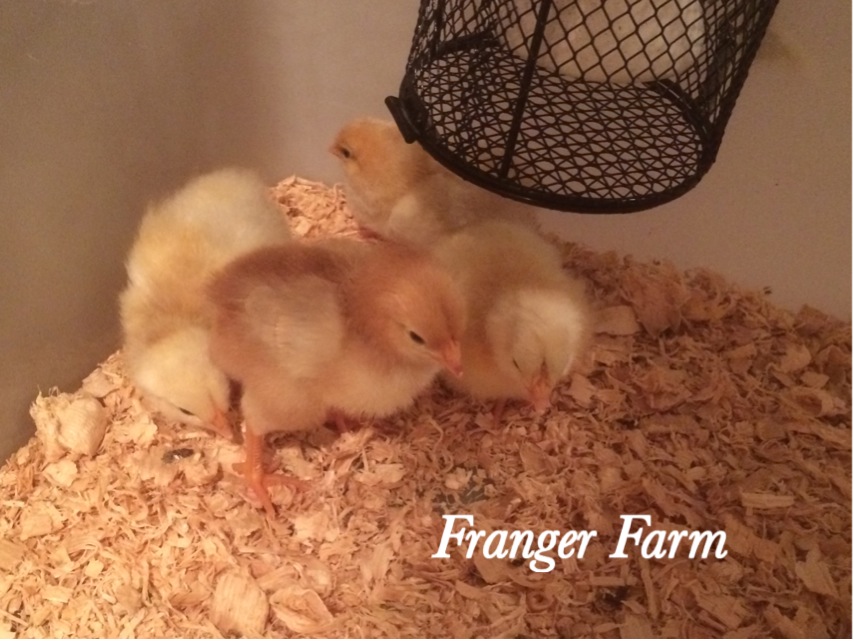
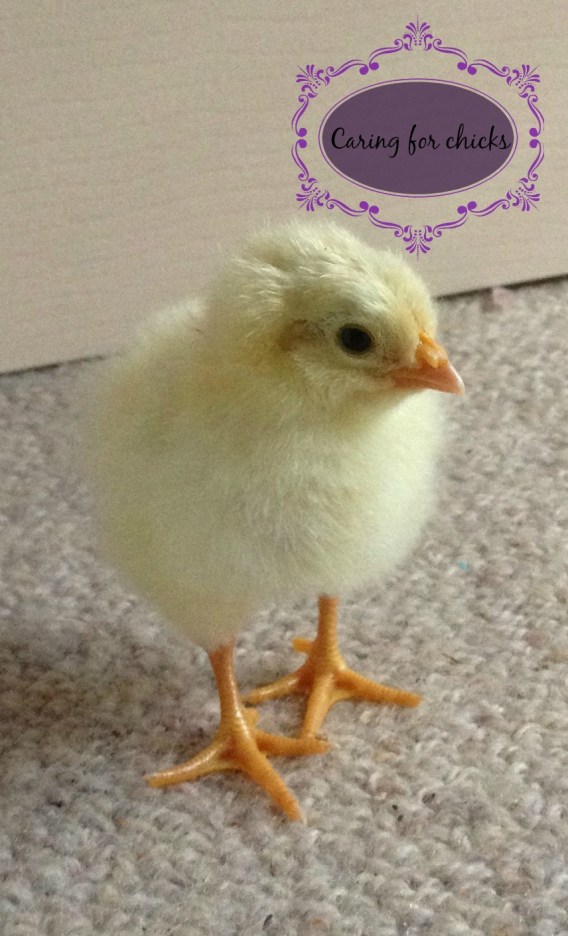
Once the chicks have fluffed up, they are ready to put in the brooder.
The chicks also need a container of water that is not too deep, to avoid drowning accidents, and another container for food.Your chicks will require “starter feed” for at least the first four weeks, then they can be move on to “grower feed”.

The brooder, with heat lamp and food and water containers.
You will need to check on your chicks several times a day for the first week or so, it’s also important that they be kept very warm. observe the behaviour of your chicks, if they’re all huddled together under the heat lamp, they are too cold, if they’re spread out away from the lamp, the brooder is probably too hot.
You can gradually reduce the temperature of the brooder over the next few weeks as they begin to develop feathers.

Your chicks may need some more space as they grow.
Your chicks may need some extra space as they grow, we usually move our chicks into a bigger cage after a few weeks when they need less heat.
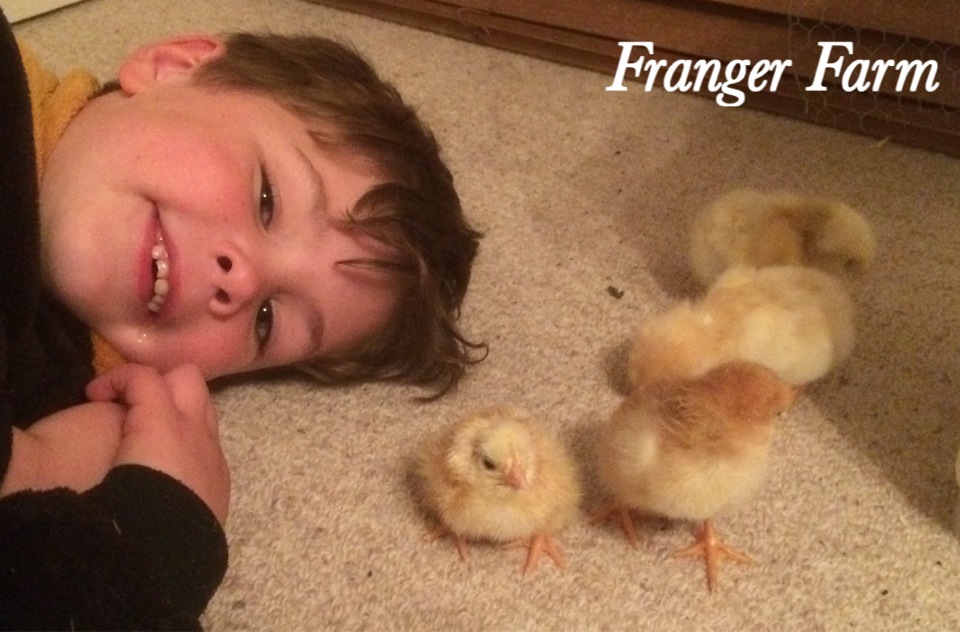
Spend time getting to know your chicks.
One advantage of raising your chicks yourself versus using a broody hen, is that you can get to know your chicks, they can become quite used to you, given the right attention. The chicks will still need checking regularly, even when they’re several weeks old, they will kick bedding into their food and water and this needs to be cleaned up quite often.

Spend time with your chicks as they grow
Before you move your chicks outside permanently, it’s a good idea to let them spend short periods outdoors in a secure cage or run, this will help them get used to the sounds and smells of the big wide world.

Getting used to the big outdoors.
Once your chicks are nearly fully feathered, they’re able to be moved outside with the other chooks. How you go about this transition is entirely up to you. We keep our young chooks in a nursery run, separate from our rooster and laying hens. As they grow and become fully fledged laying hens, we move them in with the rooster, who greets them with an enthusiastic dance….!
raising your own chooks can be so much fun, especially for kids, give it a go, you can’t go wrong. Get some fertile eggs from your local breeder and give it a go!

Raising your own chooks is simple.