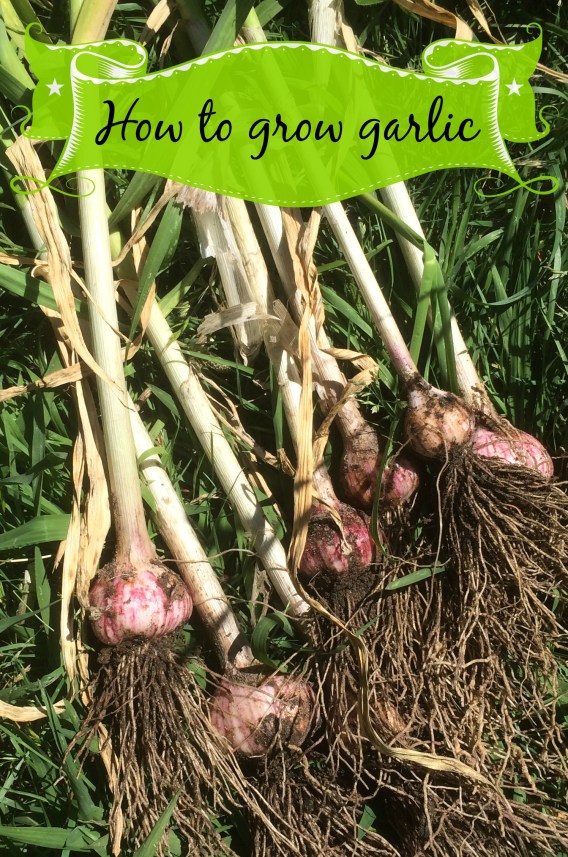
Garlic is an essential ingredient in so many of the meals we cook here on Franger Farm. Every year, we try to plant enough to see us through to the following year, and if I’m honest, we don’t always get it right. The good news is that it’s really simple to grow and we’ll tell you how.

Separate your cloves for planting.
Garlic takes quite a few months to grow, it’s planted in the Autumn/Fall and harvested in late spring or early summer. You can grow an entirely new bulb of garlic from a single clove, simply separate your cloves to get them ready for planting.

plant pointed end up.
Garlic likes a sunny position in well drained soil, you should plant the cloves pointed end up about 15cm/3ins apart. It doesn’t like competition from weeds, so make sure that you keep the area around your garlic nice and weed free.
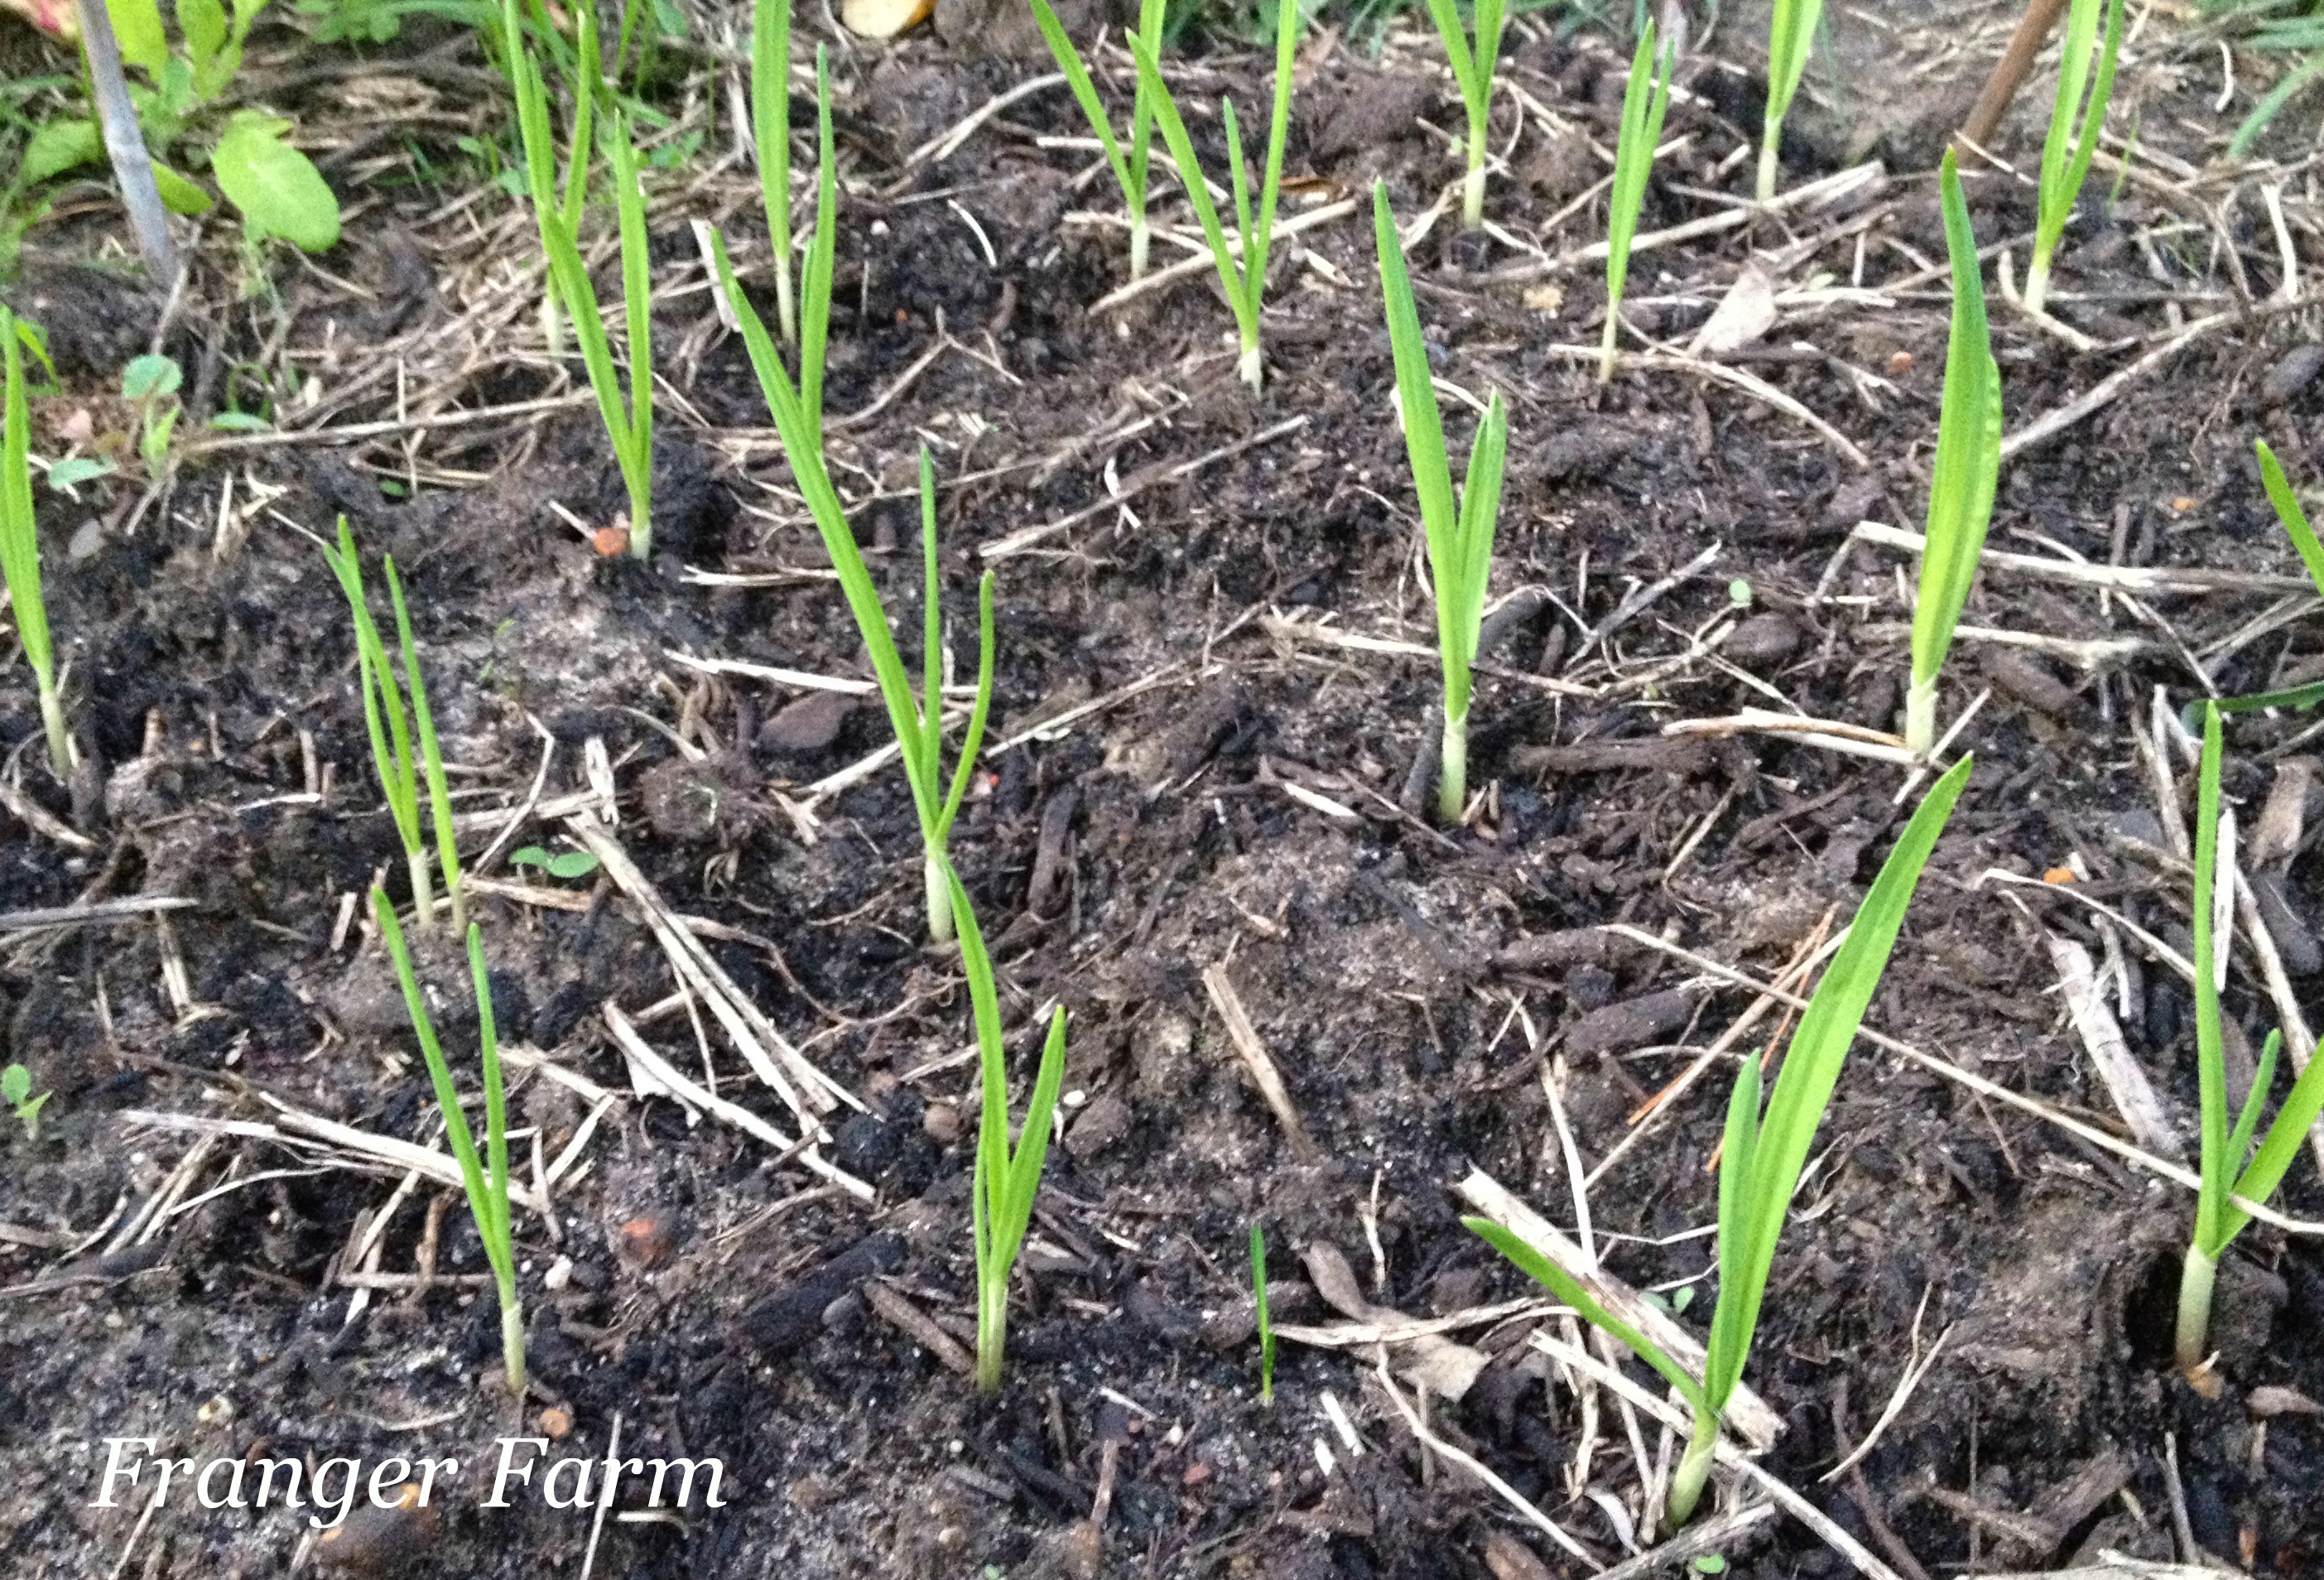
The garlic will send up shoots quickly.
It won’t take long for your planted cloves to send up shoots and the bulb development to begin.
It’s time to harvest in the late spring or early summer when the foliage has died back. It’s fairly easy to loosen the bulbs with a small hand fork to harvest them, simply brush of the dirt, allow to dry a little and store until needed.
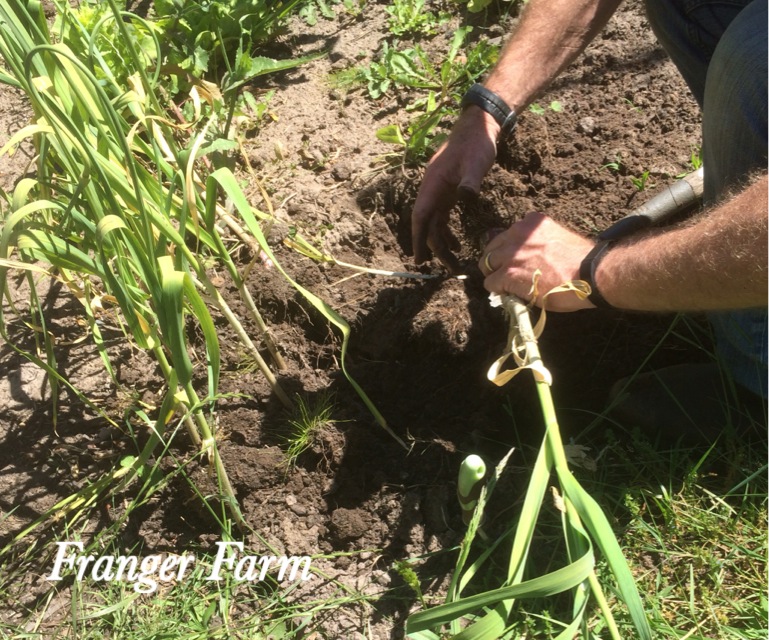
Brush of the dirt and allow to dry before storing.
It doesn’t take a lot a room to grow quite a large crop of garlic and the flavour is far superior to shop bought garlic. Find yourself a nice little sunny spot and get growing.