There has been a lot of interest in our pizza oven from followers of our Facebook page, people wanting more details of how Mr Franger Farm went about building it.
Well, here are the details and the pics that we took as it was being built. As always, I wish we had taken more photos, but these should give you some idea of how we went about things.

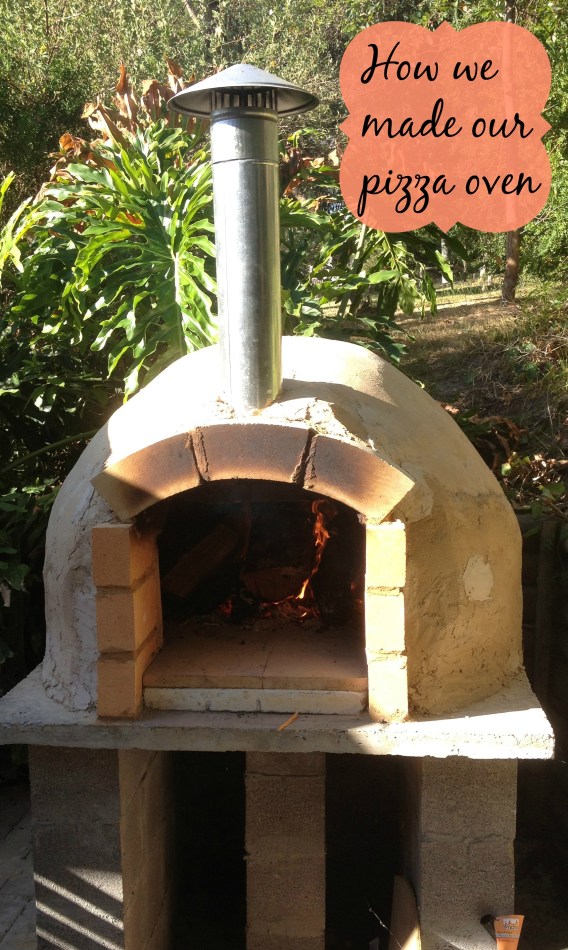
The Franger Farm pizza oven
Mr Franger Farm built a solid concrete base for his oven and then constructed a base of Bessa blocks, and left some space so that wood can be stored underneath. He needed a large paver to sit on top of his base, this is what the oven sits on, after some research, he discovered that it was difficult to get pavers in this size, and all the option were very expensive. The solution was to create his own paver by building a wooden frame and pouring concrete into it with some metal reinforcing at a cost of roughly $20. It took a few people to lift it into place, but it does the job.

The Bessa block base, concrete slab, calcium board and tiles.
At this stage, Mr Franger Farm purchased some items from a store specialising in pizza ovens. he bought some calcium board to go underneath the tiles that would make the bottom of the oven, this would ensure that the heat would reflect back into the oven and not disappear into the base. After some thought, he also decided that buying curved bricks would be worth the slight extra cost as it would make the whole dome construction easier.

The inside of the dome.
Mr Franger Farm used a very large pile of sand to support the dome of the oven as it was being constructed, this was dug out once the dome had been given sufficient drying time.The chimney was placed at the front of the dome, just inside the doorway.

Adding the render, the insulating blanket and chicken wire can be seen here.
The dome was then covered with an insulating blanket and chicken wire, which held the blanket on and gave the render something to grip on to. The render was made with refractory grade cement, as was the mortar, which made it heat retardant and suitable for use in the construction of a pizza oven.Once the render was finished, we gave it a few days to dry out and lit our first our first fire!

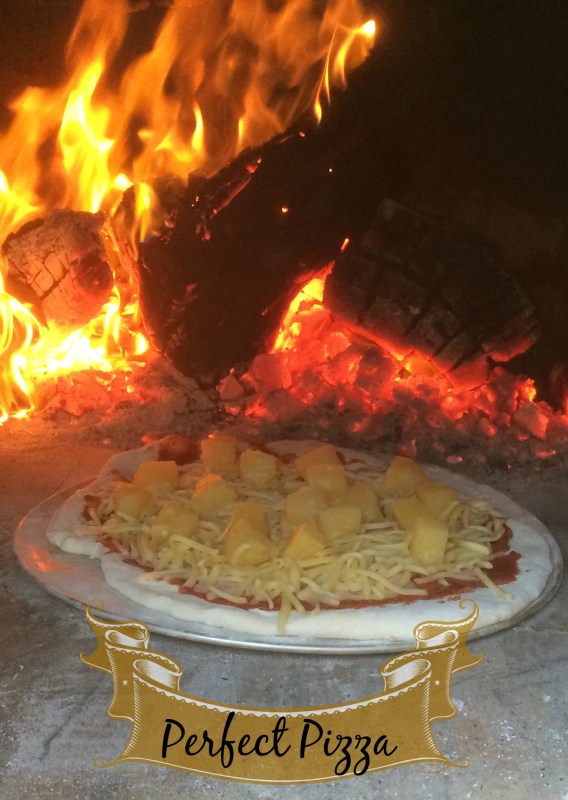
The fire.
Cooking in the oven takes a bit of practice, the fire has to be lit about one and a half to two hours before you’re ready to cook, to give the oven time to heat up. Once it’s hot enough, the wood is pushed to the sides of the oven and the pizza is placed inside to cook. If the oven is hot enough, the pizza should cook in about five minutes. We will usually cook a loaf of bread in the oven after the pizza is done, it makes sense to use the heat of the oven to cook as much as possible after you’ve gone to the trouble of lighting and tending the fire for a couple of hours.

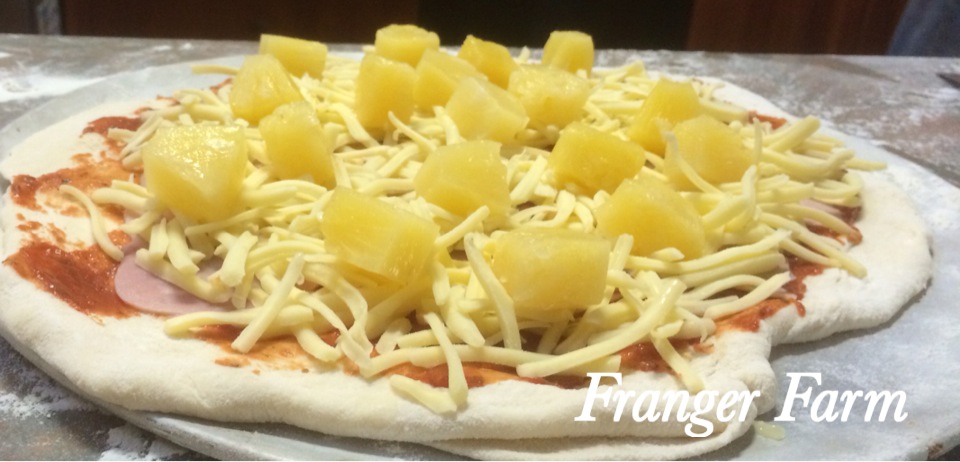
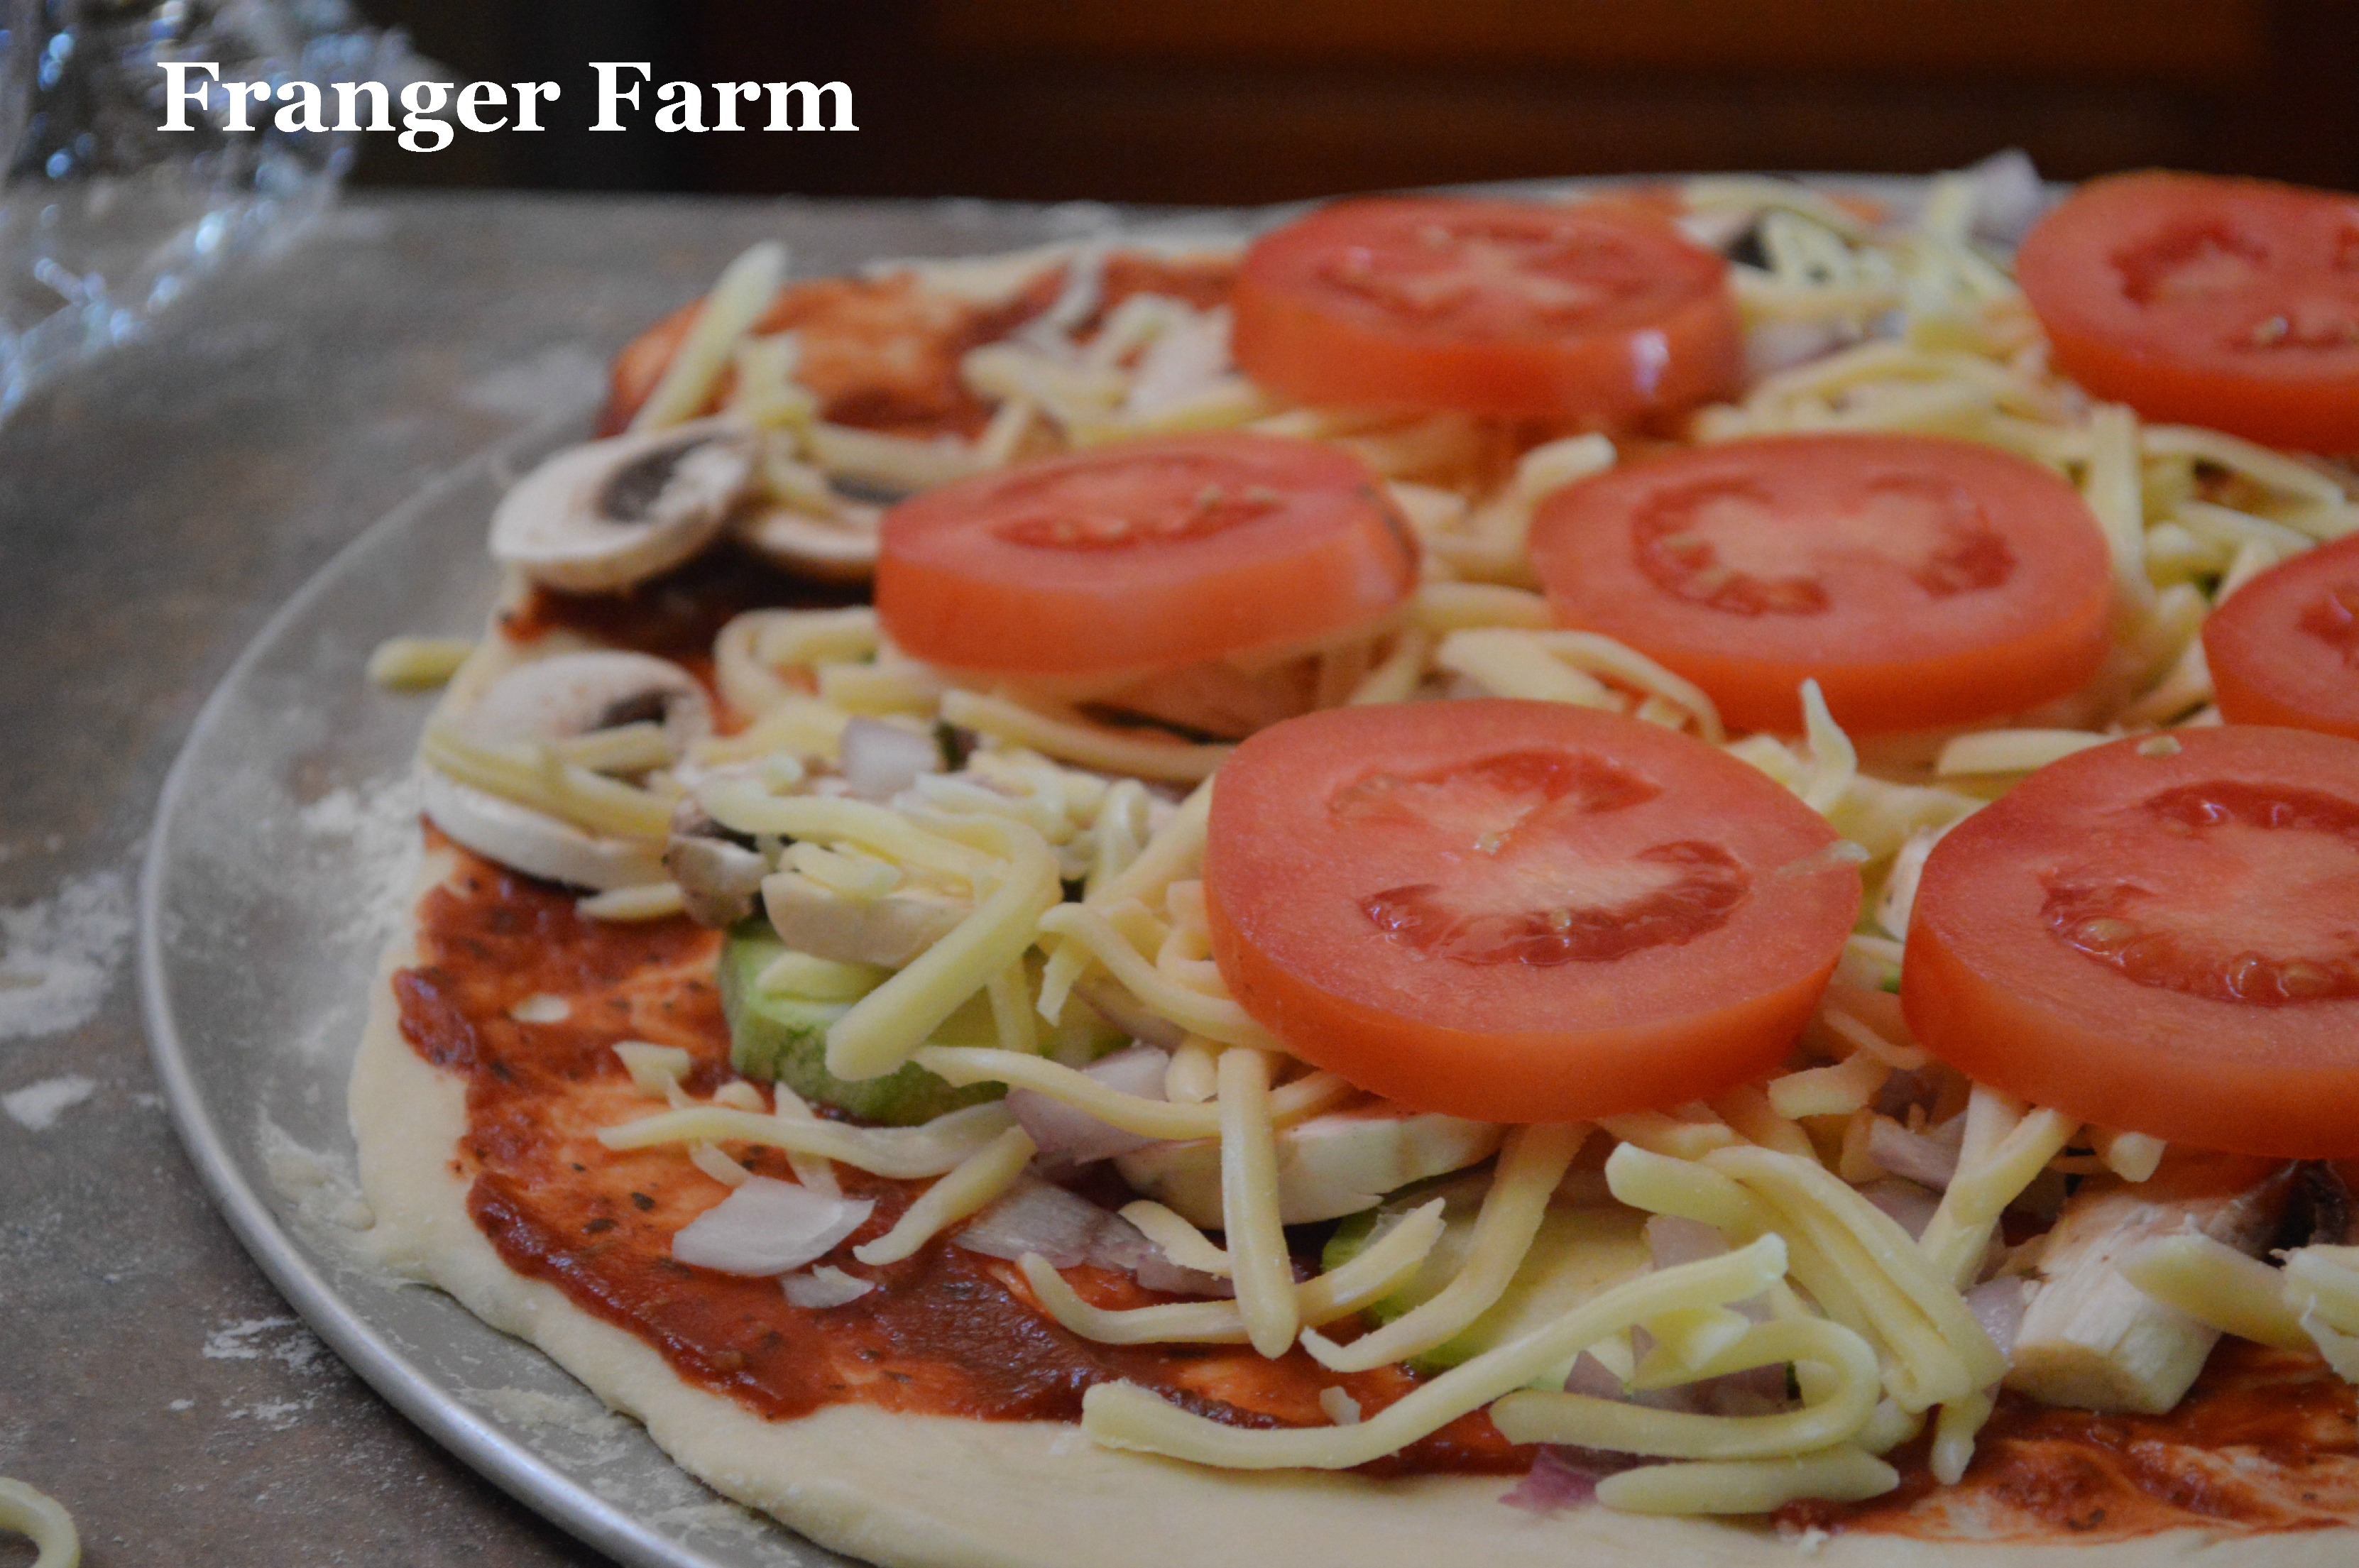
Homemade pizza.
The building of the oven was challenging in a few different ways. It was important to get the mix of the mortar right, and in hindsight, Mr Franger Farm would have made the dome smaller and the entrance tunnel longer. As with most things, once you’ve done something once, you find ways to do it better next time.
If you’re thinking of giving it a go yourself, Youtube is a great source of information. It’s possible to see the successes and failures of other people that have given the pizza oven a go, and hopefully avoid some of the mistakes yourself.
The pizza oven has been a fantastic addition to our garden and is very popular with our friends and neighbours. The pizzas are better than anything you will get from any pizza shop, and you can customise your toppings to cater for everyone. This is not a project that will be done in a weekend, but is well worth the time and effort and can be done for a fraction of the price of buying a ready made oven.
I hope this inspires a few of you to take the plunge and have a go at building your own backyard pizza oven.

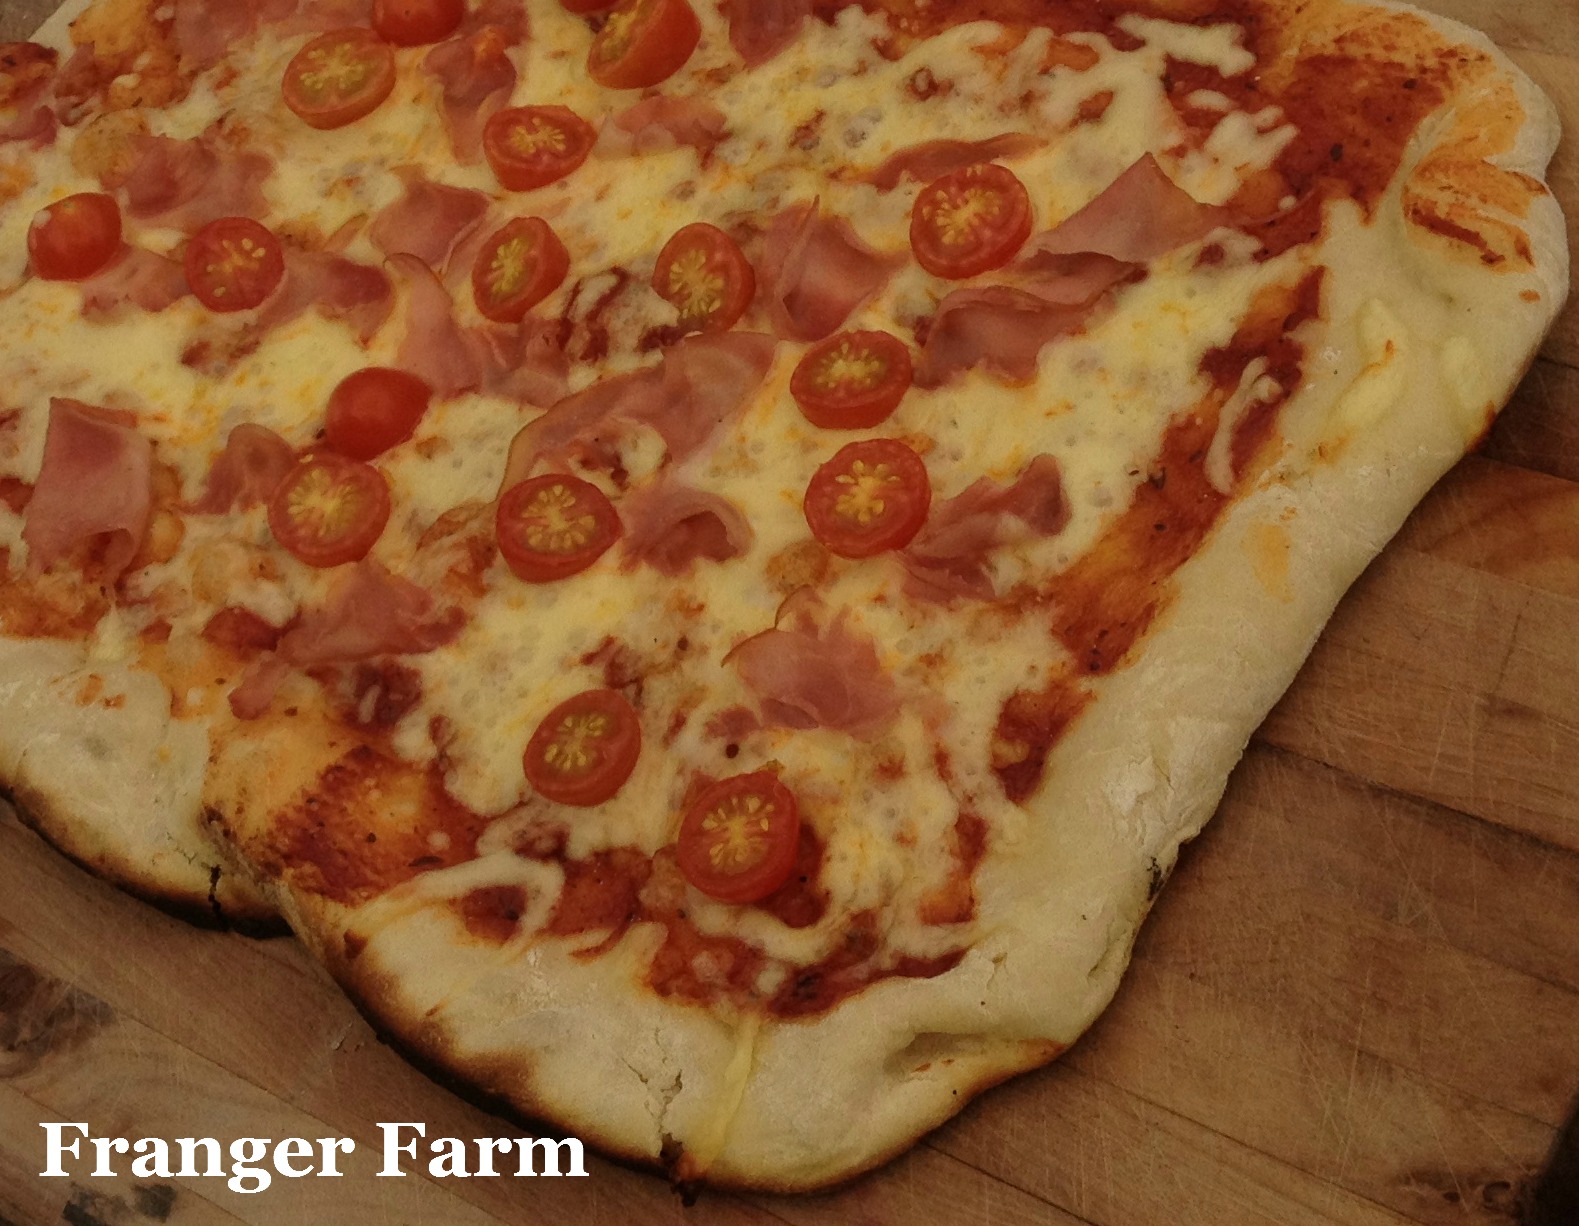
Cooked to perfection.