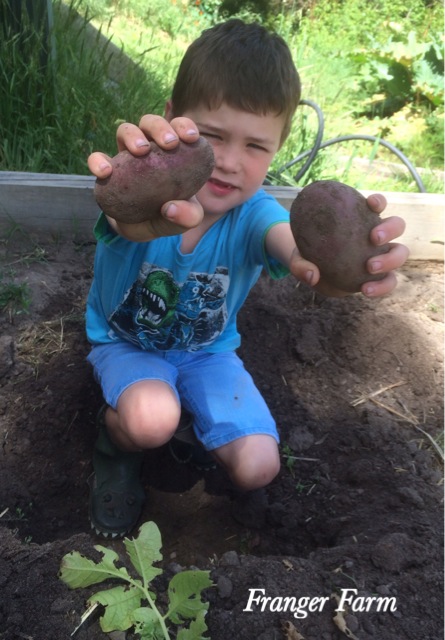
We all have areas of our garden that could do with a bit of a tidy up, we had one that seemed to be permanently covered in weeds and it made for a depressing view from our bedroom windows in the morning. Something had to be done, so we came up with this plan to turn it into an attractive and productive little garden area. It was fairly inexpensive and very quick to do, especially if you can rope in a few children to help out!

A desolate, weed prone area.
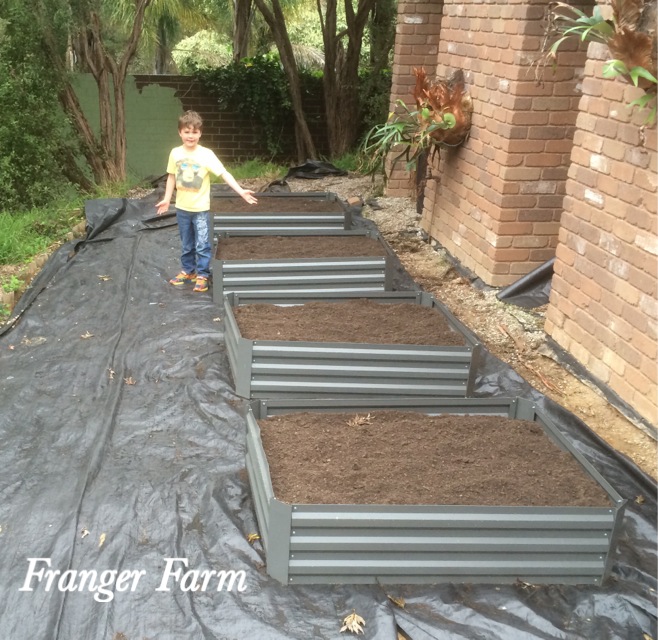
We began by purchasing some ready made raised vegie beds, but if you’re unable to buy these, you can make your own out of any suitable materials you have to hand, old apple crates also make great raised vegie beds. We moved them around until we were happy with what their final positions would be.
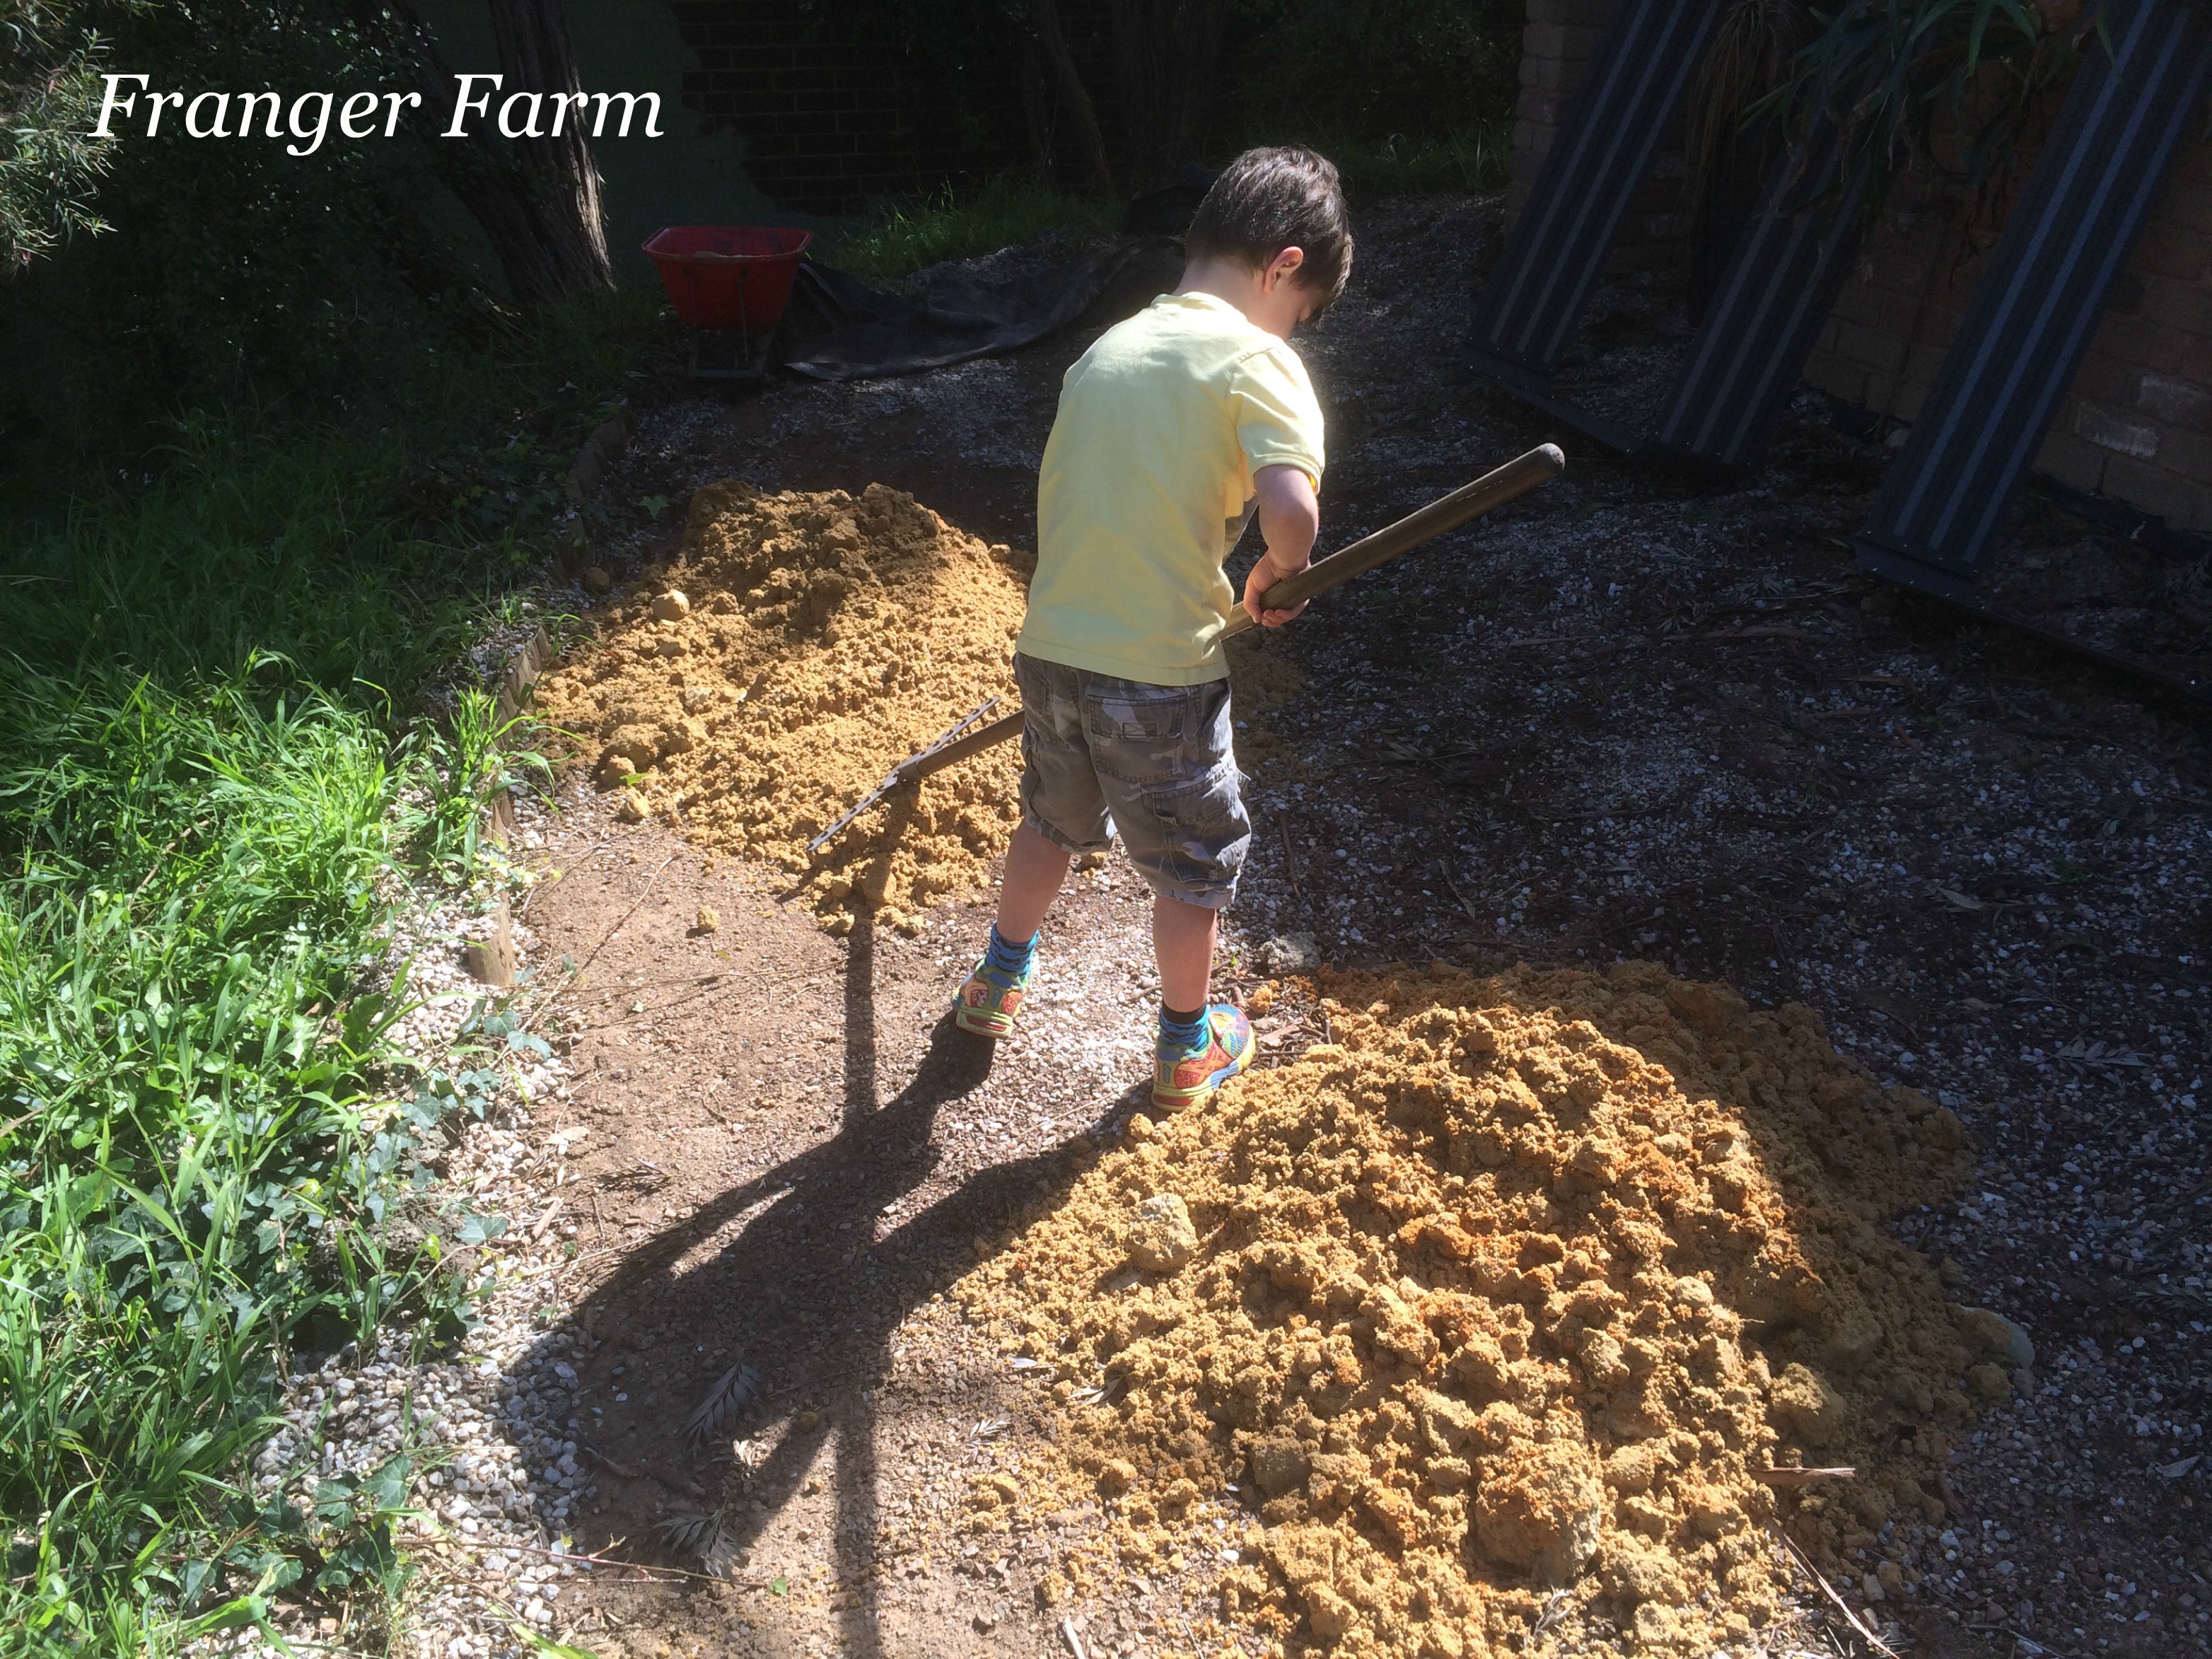
Level the area if needed.
Next, we levelled the area with some sand so that our raised beds would sit nice and flat.

Rolling out the anti weed mat.
We rolled out anti weed matting across the entire area to hopefully cut down on the return of the dreaded weeds later on.
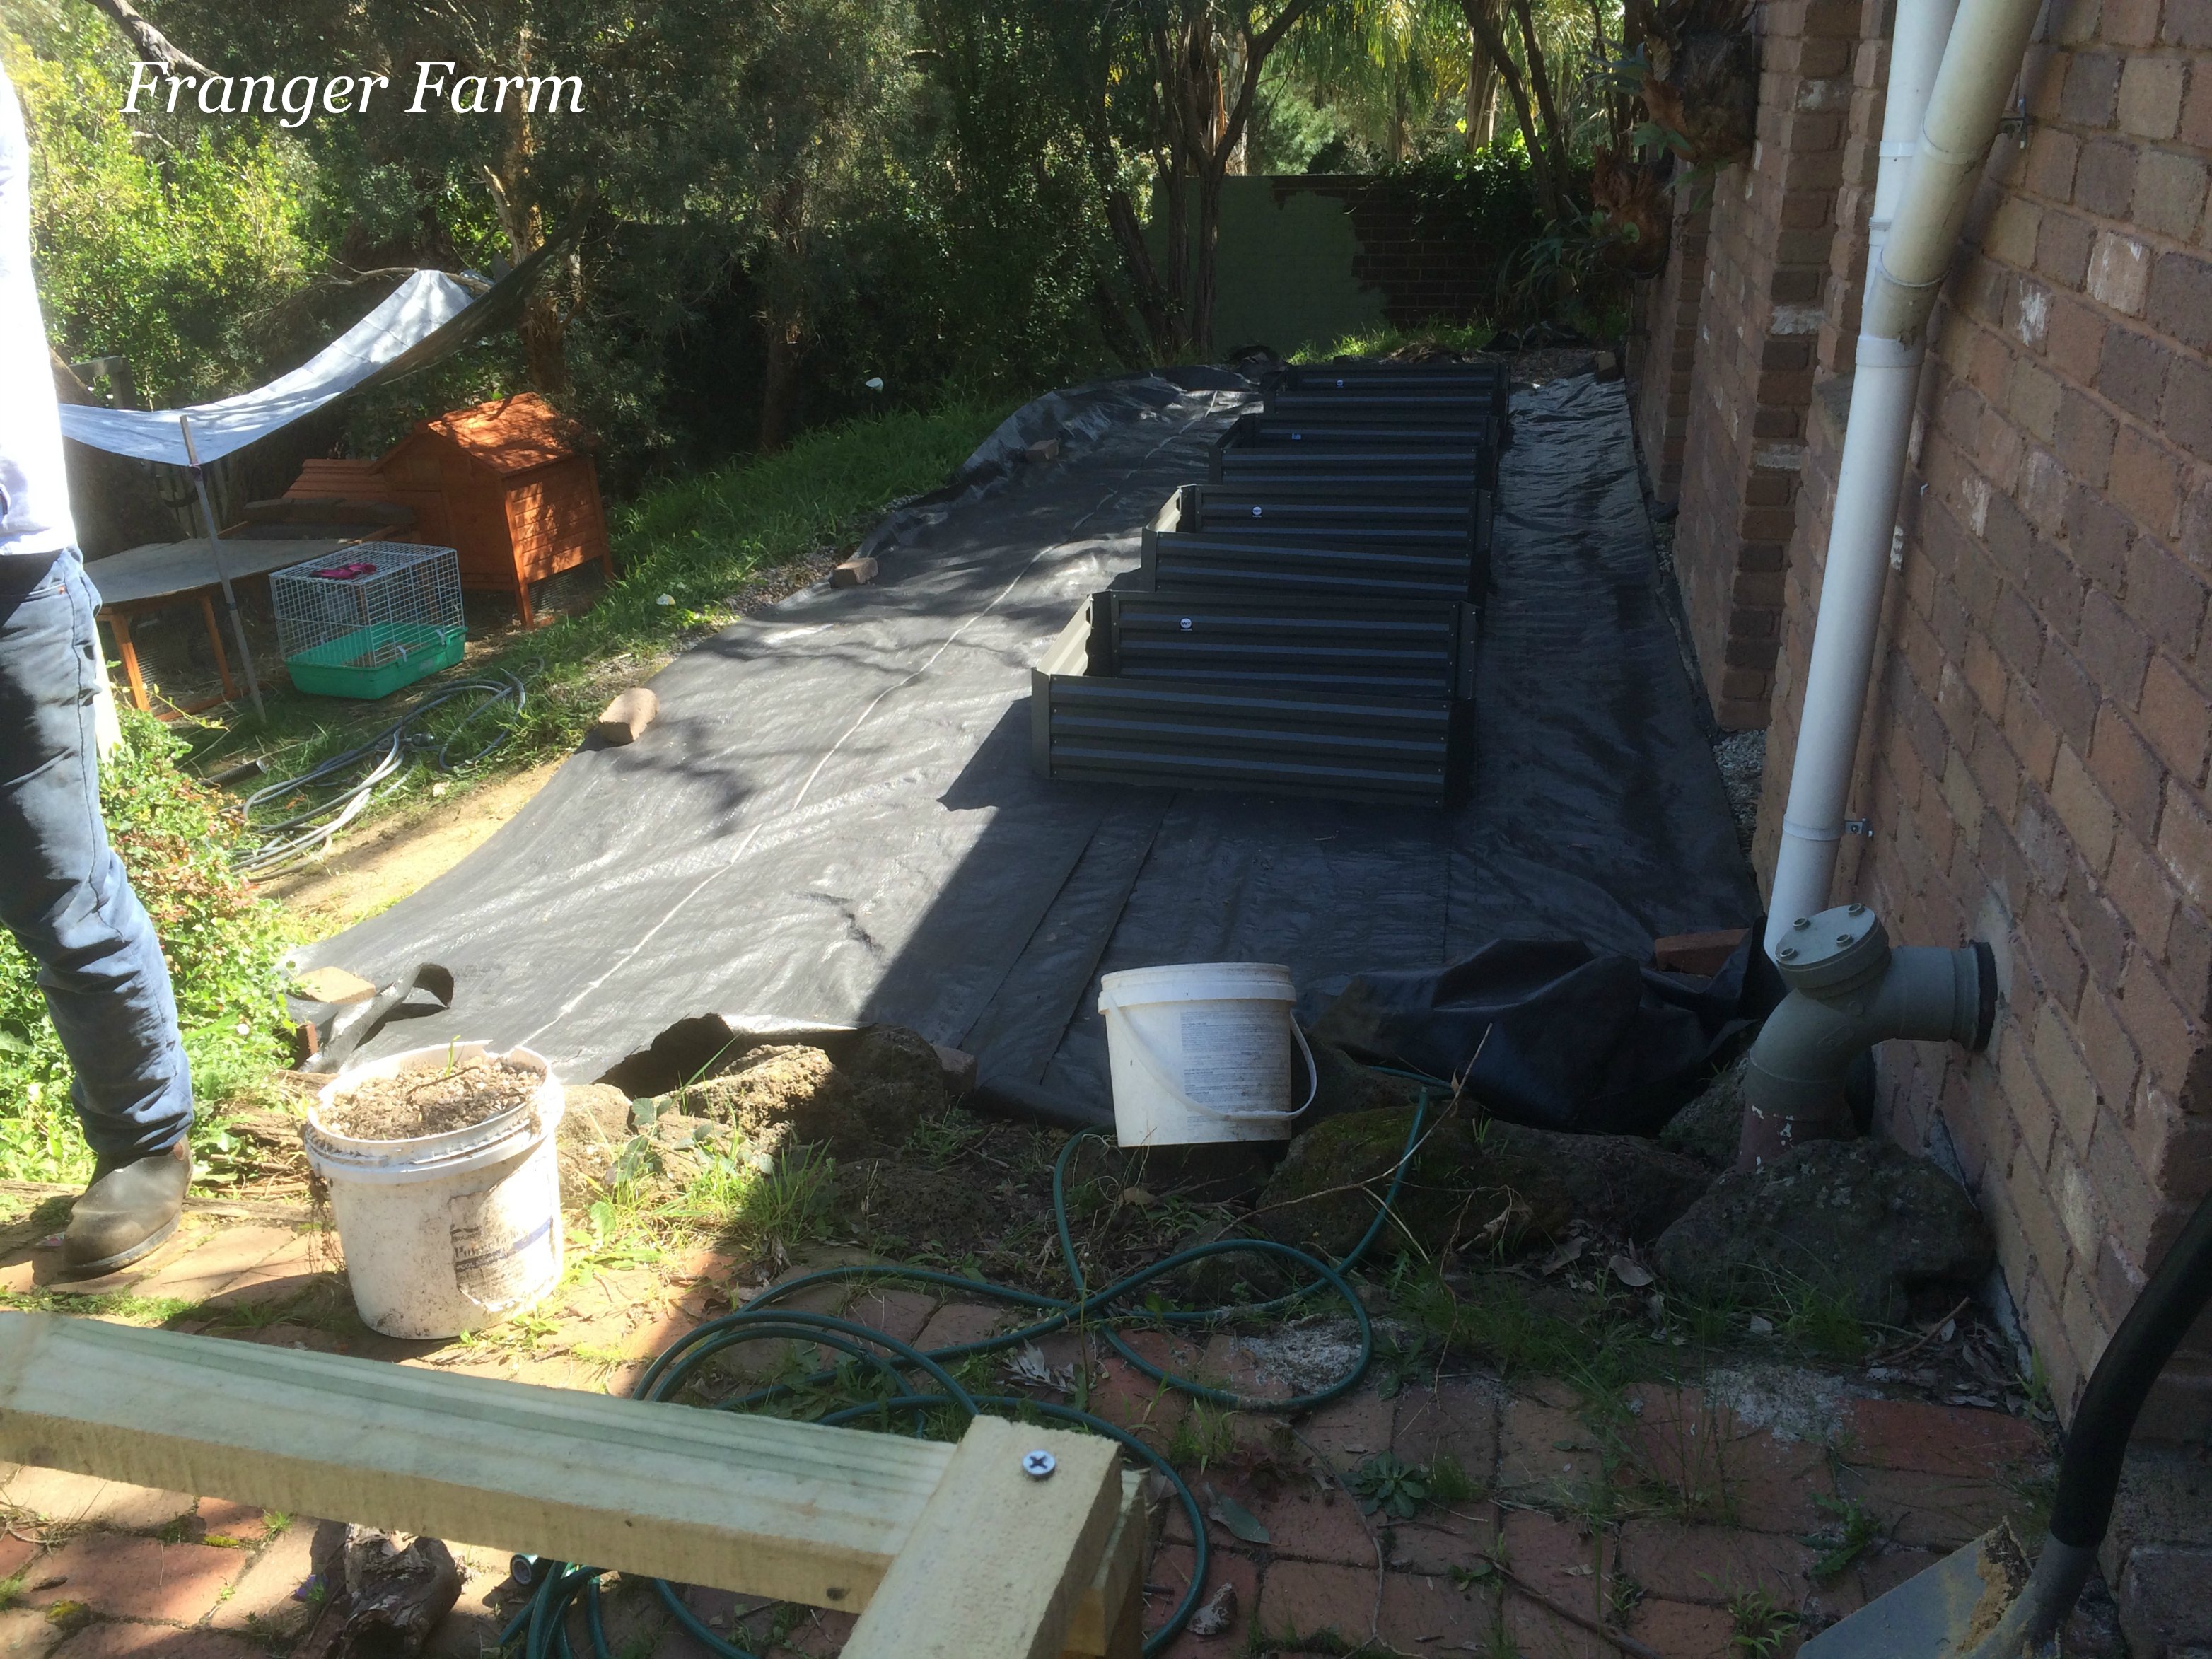
The raised beds on top of the weed mat.
The raised beds were then placed in their final positions on top of the weed mat.

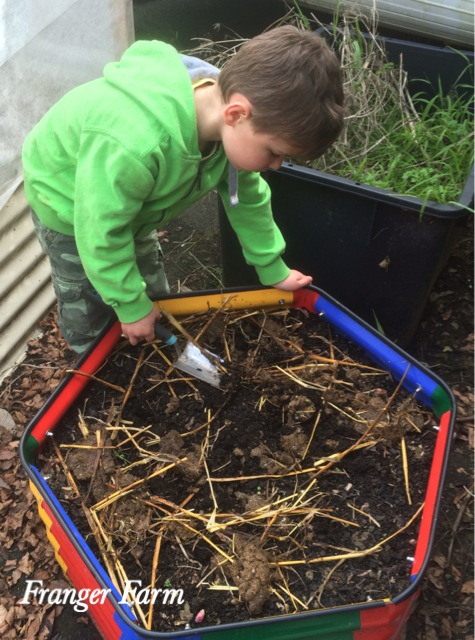
Time to shovel dirt!
Next, we filled our raised beds with some soil suitable for growing veggies.

Raised beds ready to be planted up.
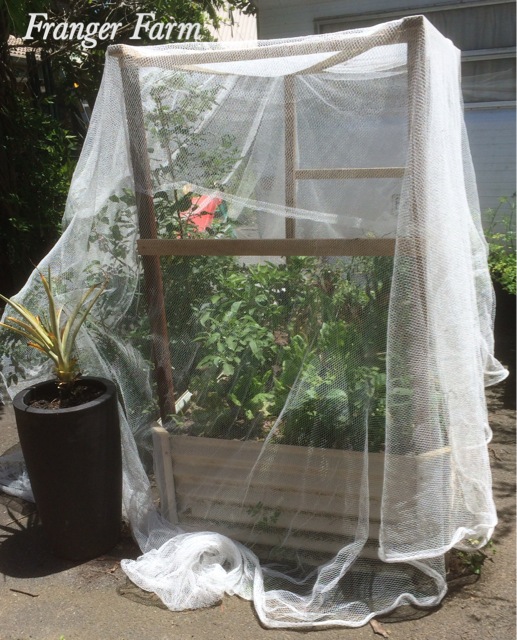
We planted our raised beds up with a variety of different veg, including cucumbers, tomatoes, lettuce, radishes and eggplant.

The transformation is complete.
Finally, we covered the weed mat in a thick layer of gravel to complete the transformation.
So now we another productive area in our garden and we’ve banished the ugly view fro our bedroom too.
If you can think of an area in your garden that could do with some TLC, why not try this simple idea.