Once a rhubarb patch becomes established, you can find yourself with masses of it, here’s a very simple jam recipe that will use plenty. This recipe is based on one we found on https://www.taste.com.au and it’s so easy.
Ingredients.
1kg (2.2lbs) rhubarb
1kg (2.2lbs) caster sugar
120ml (1/2 cup) lemon juice
2 teaspoons vanilla essence.
Method.
Remove the leaves from the rhubarb, wash and roughly chop it.

Wash and chop the rhubarb.
Mix together the rhubarb, sugar, lemon juice and vanilla essence in a large bowl. leave to stand overnight for the flavours to infuse and mingle.

Mix all the ingredients in a large bowl.
Your rhubarb pieces will shrink a little and the sugar will become syrupy.

your rhubarb will have released liquid overnight.
Transfer the rhubarb mixture to a large pan and bring to the boil over a medium to high heat. You should use a large spoon to skim any froth from the surface. Cook it for 35-40 mins, stirring regularly.
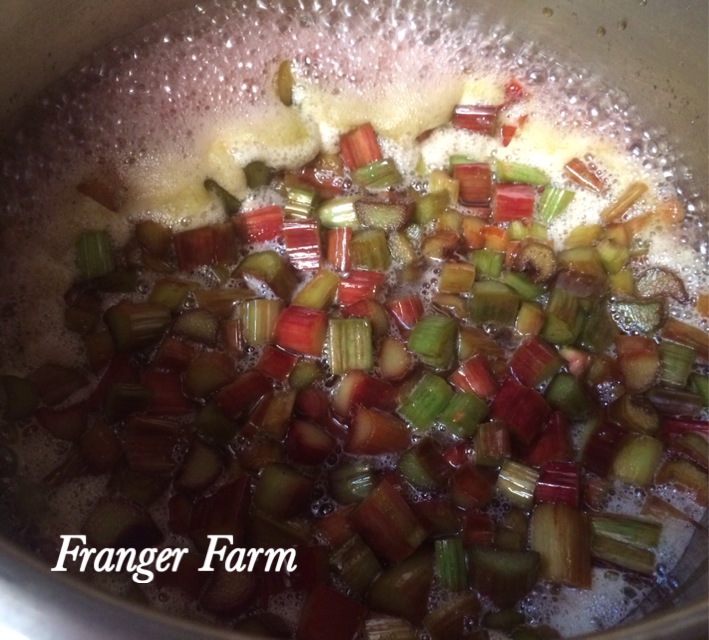
cook for 35-40 mins.
The jam is ready when it “jells” when tested. To test your jam, place 1 teaspoon of it on a chilled saucer and place in the freezer for a couple of minutes until it has cooled to room temperature. Then, lightly push the jam with your finger, if the surface wrinkles, it’s ready.
Spoon your hot jam into sterilised jars and seal, leave to cool.
Enjoy your jam on toast or scones or how about trying it drizzled over ice cream!