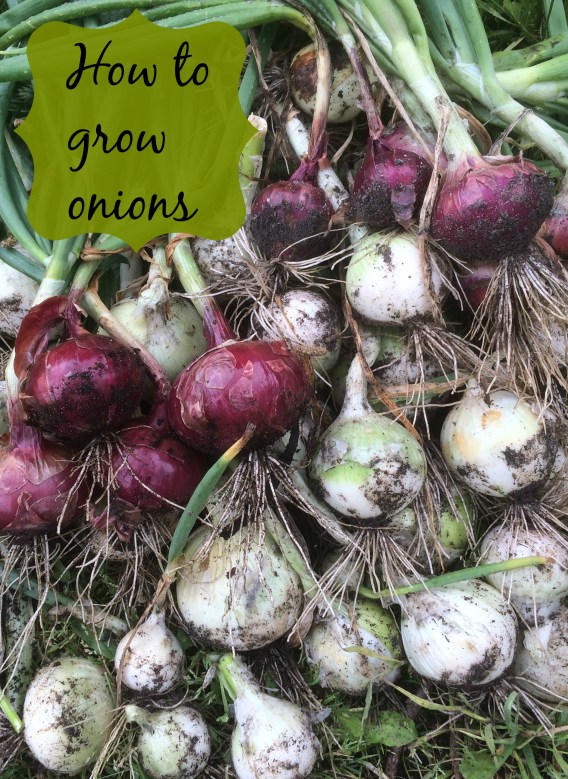
At Franger Farm, we firmly believe that almost every dish tastes better with an onion or two in it. We have a number of things that we just can’t grow enough of, and onions are well and truly on the list. Home grown onions are so full of flavour when compared to shop bought ones and can be grown in available spaces in sunny borders around the garden.

Onions need to grow in full sun in well drained soil.
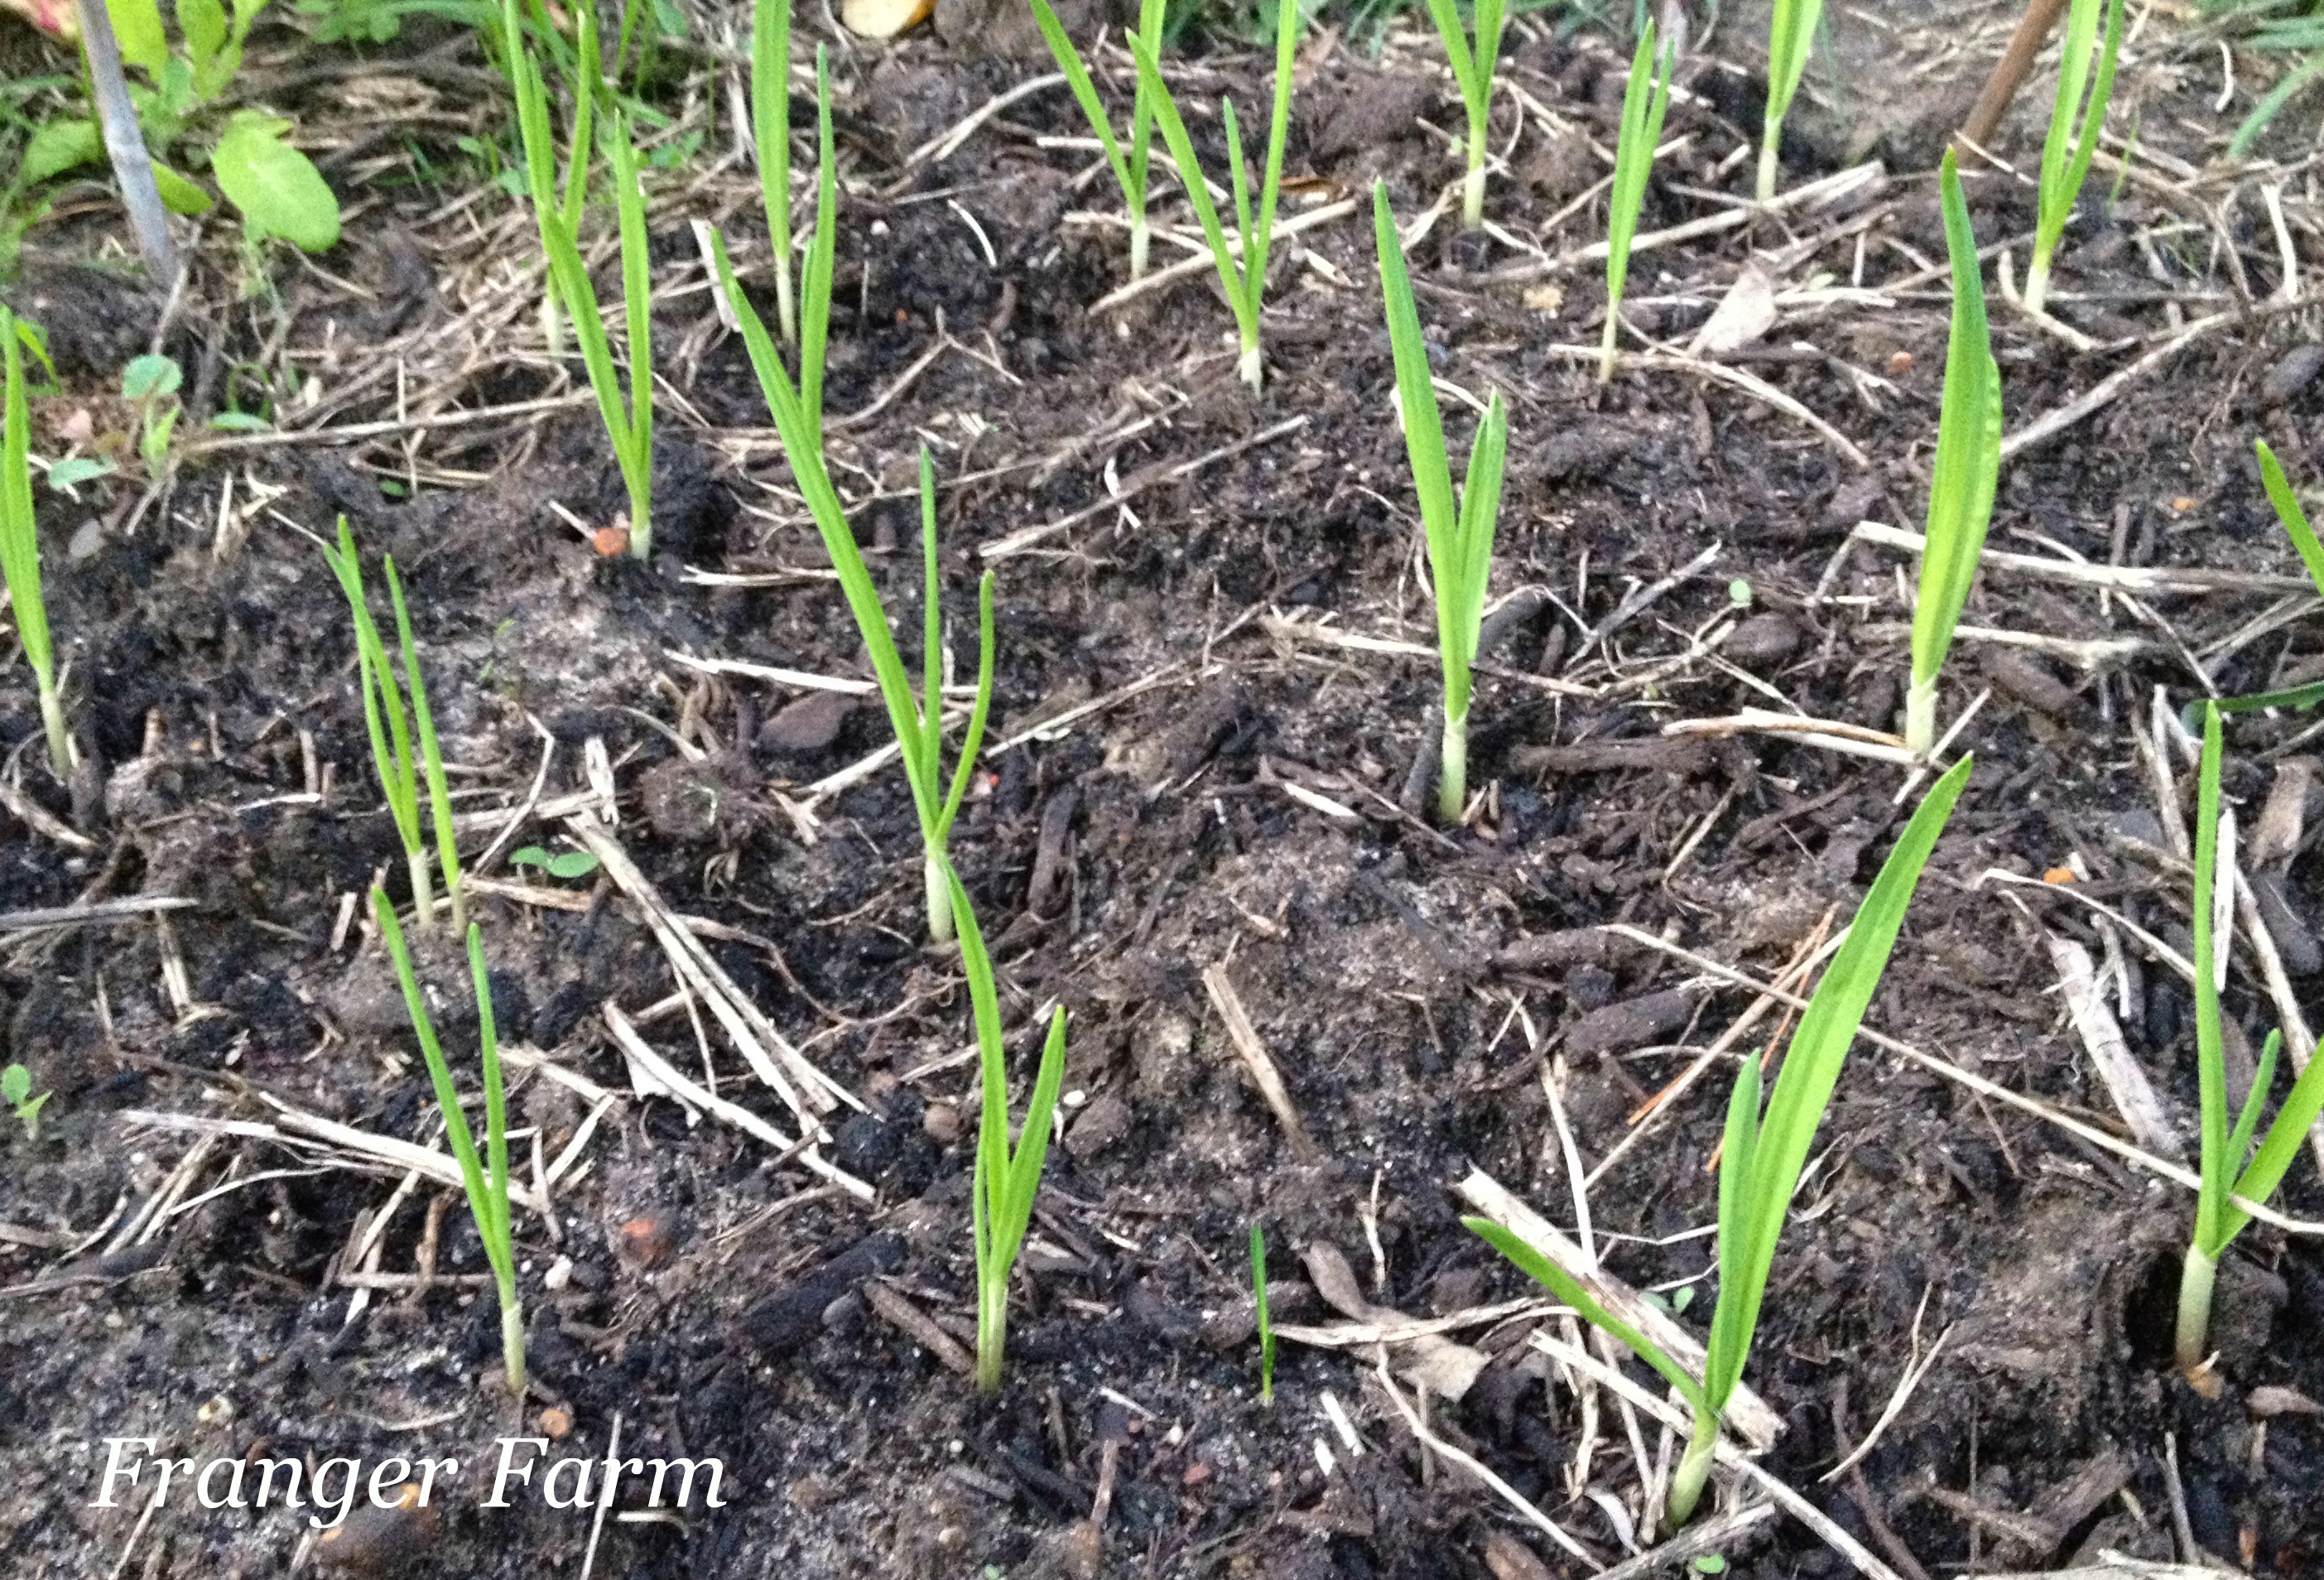
Onions are a cold weather crop, they can be grown in three different ways, from ‘sets’ (bulbs available from garden centres) from seed or from seedlings. We grow our onions from seed and occasionally, seedlings. Sow your seed about 2.5 to 5 cm (1 to 2 inches) apart, the same for seedlings, if you’re using sets, space them 10 to 15 cm (4 to 6 inches) apart. Ensure that your soil is weed free as onions are slow growing and can be quickly overwhelmed by fast growing weeds. Don’t bury your sets or seedlings too deeply or their growth will be restricted. Don’t bury your onions as they grow, the bulbs should sit proud of the soil.

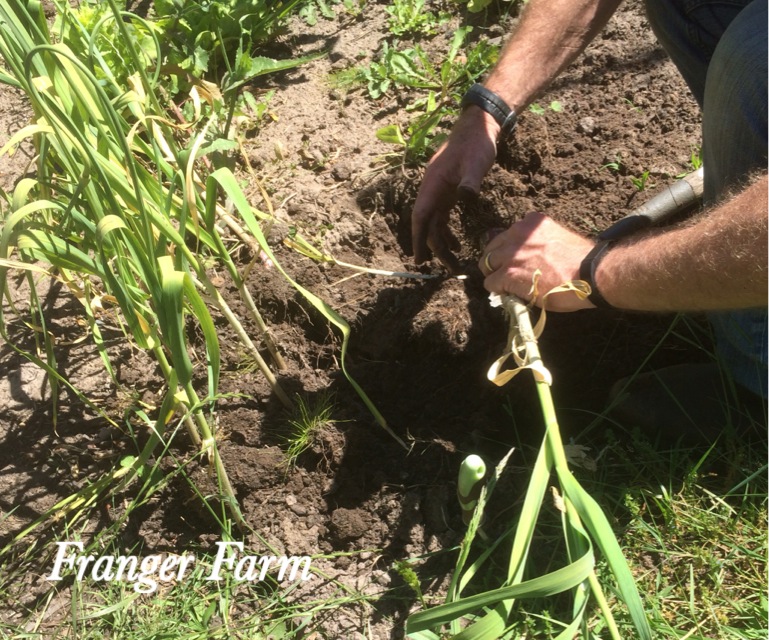
The tops of your onions will fall over as the onions mature.
The tops of the onions will begin to die back and fall over as they mature. Once the bulbs have swelled nicely and the tops have died back, you can harvest your onions.
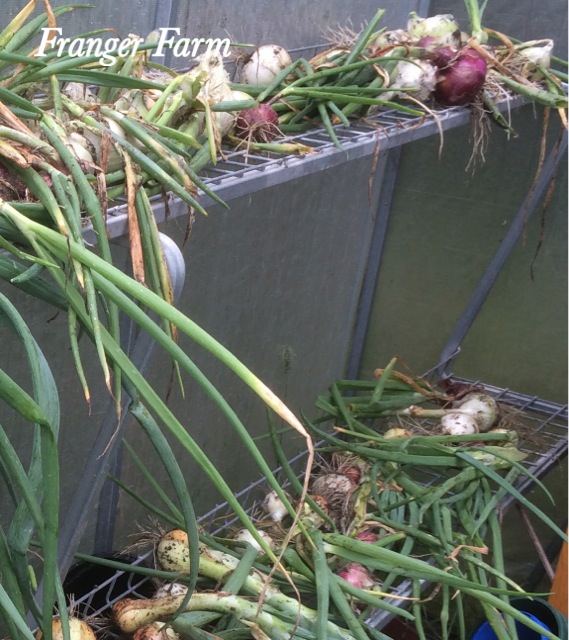
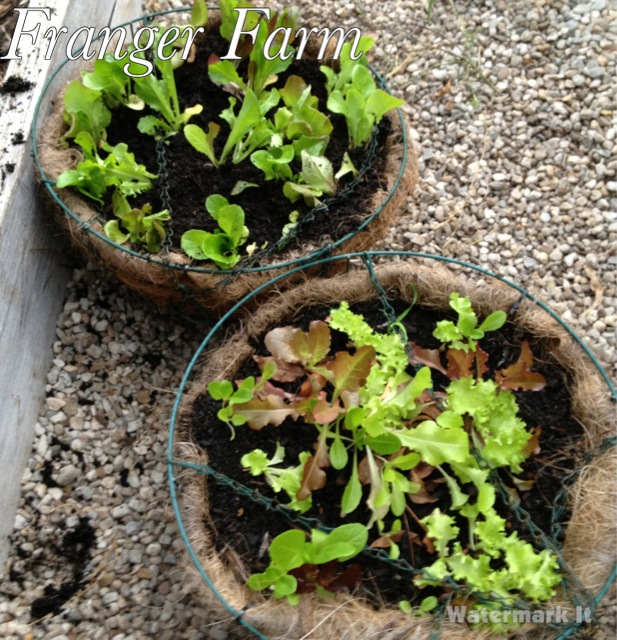
Dry your onions on a wire rack or shelf.
If you want to store your onions for use throughout the year, they need to be dried first. Spread them out on a wire rack or shelf so they have good airflow around each bulb. The onions are ready to store once the skins have become dry and papery. The onions will need to be stored in a cool dry area to prolong their storage life.
I hope we’ve inspired you to give growing your own onions a go, but be careful, you may end up like us, chasing the holy grail of growing enough onions for your family for the entire year!